

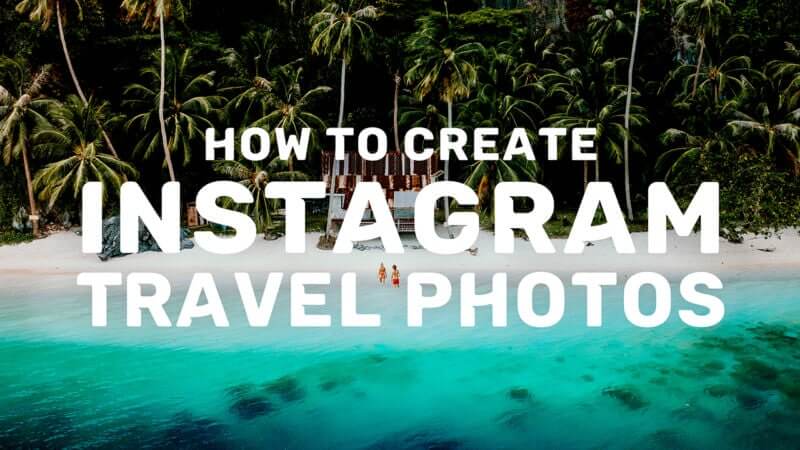
Taking photos while traveling is the perfect way to capture your moments of adventure. However, there’s nothing worse than the disappointment of blurry portraits, lopsided landscapes, or miscaptured images. Avoid these mistakes by following these travel photography tips for beginners! They’re guaranteed to make your photos stand out from the crowd and give your Instagram the wow-factor it deserves.
Deciding on this is especially important if you’re thinking about curating your Instagram feed in certain colors or tones. For example, are you going to go for a Mediterranean feel with lots of ocean blues and bright whites? Or maybe you’re traveling Asia and want to create a tropical green vibe on your feed.
2. Get up early – Best Travel Photography Tip
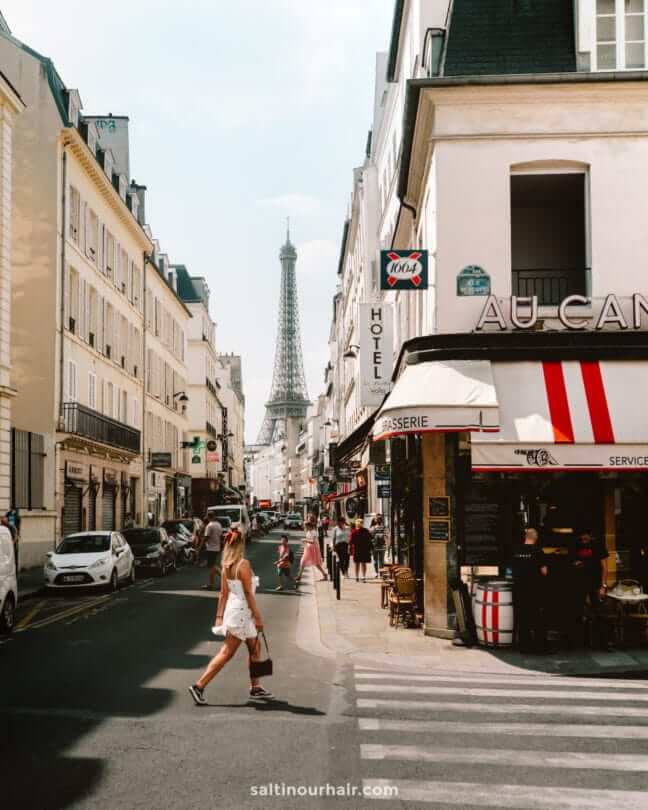
If you’re visiting a popular place, like the Eiffel Tower in Paris or the Sagrada Familia in Barcelona, get there as early as possible to have the place to yourself. Not only will it get you the best photos, but it’s such a unique experience to enjoy these world-famous places totally alone.
Also read: The best cameras for travel

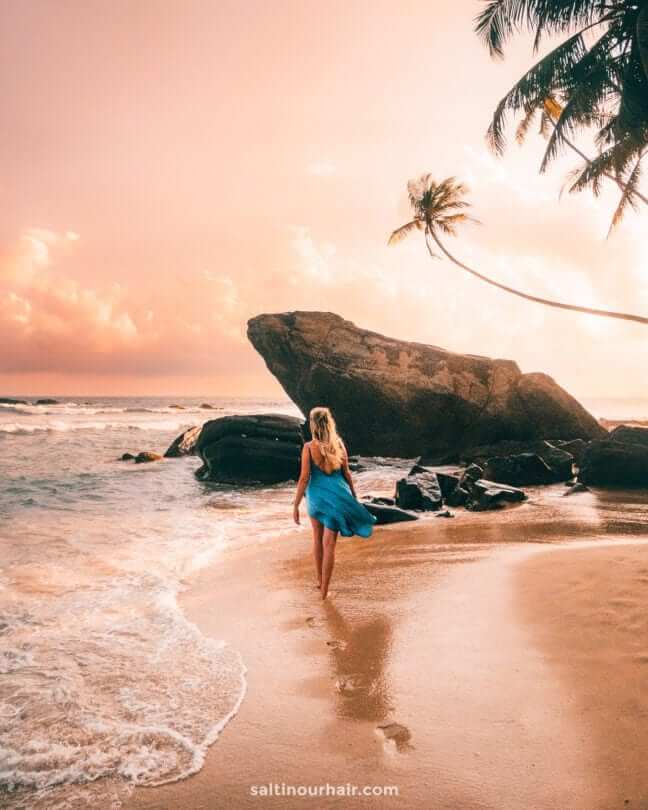
The night before your sunrise mission, check the sunrise times online and make sure to arrive before that time. The moment the sun starts to rise you’ll only have the best lighting for 1 hour, and you don’t want to waste any of these precious minutes.
Travel Photography Tip: The same goes for the evening time, arrive 1 hour before sunset to capture all the changing colors of the sky. It’s called golden hour for a reason.
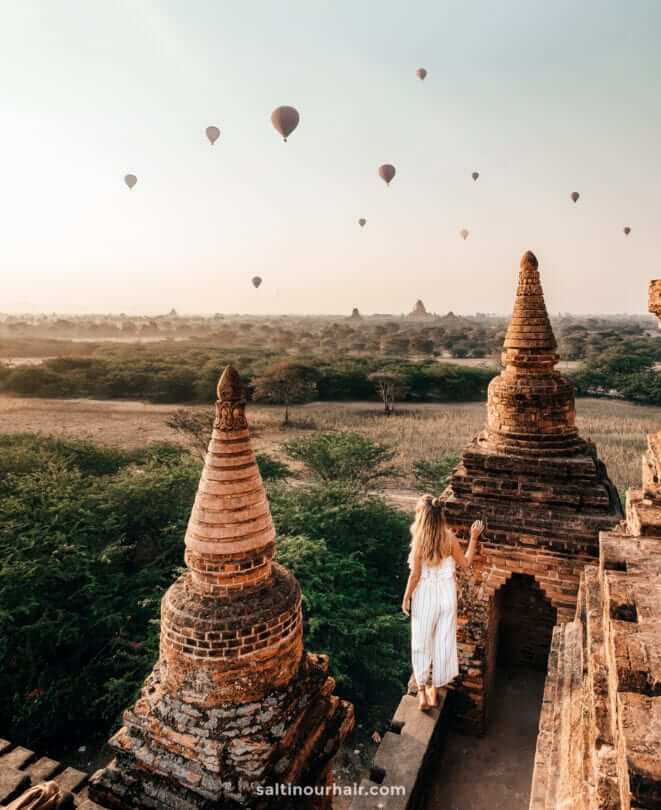
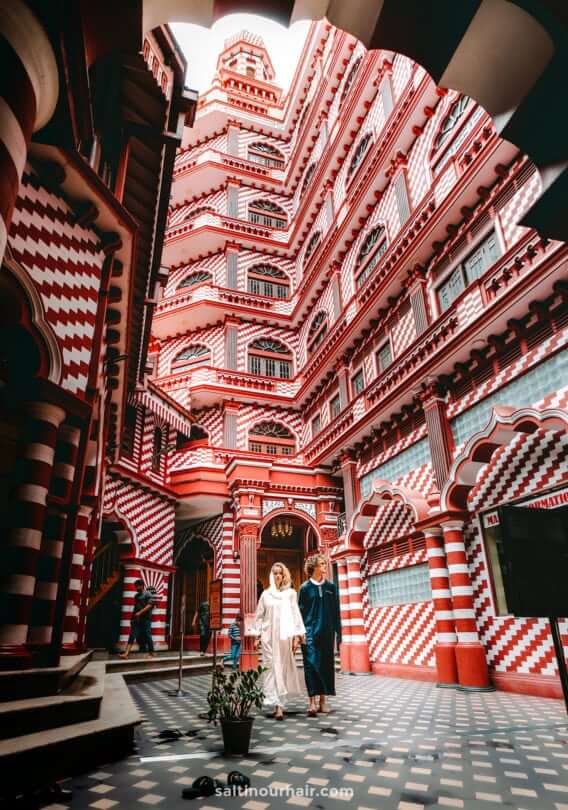
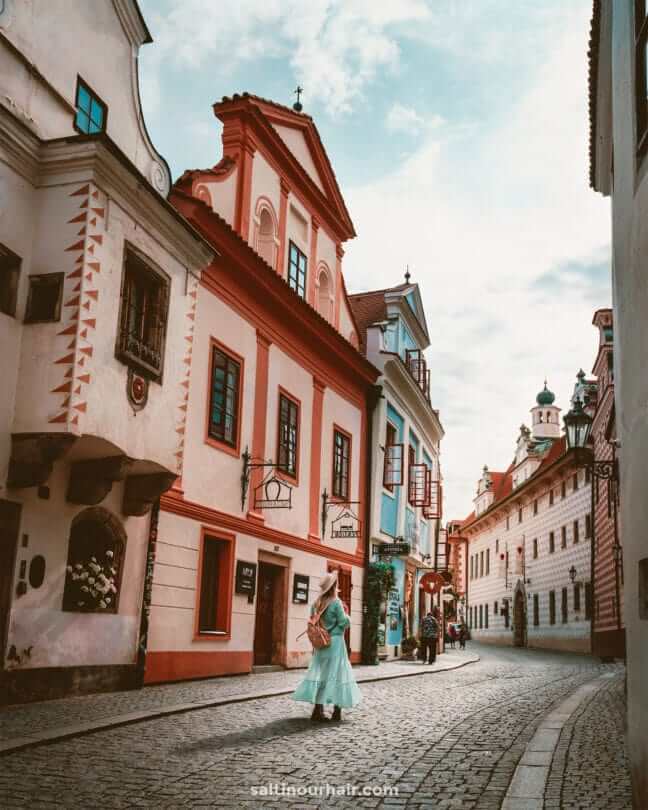
3. Dare to stand out
How many people have you seen getting a photo of themselves pushing against the leaning tower of Pisa? When it comes to travel photography it’s easy to fall into the trap of taking the ‘popular shot’. Sure, this will get you pretty pictures but it won’t make you stand out from the crowd.
Instead, look around you for unusual details that other people are missing. Maybe there’s a puddle of water to use as reflection or beautiful light patterns.
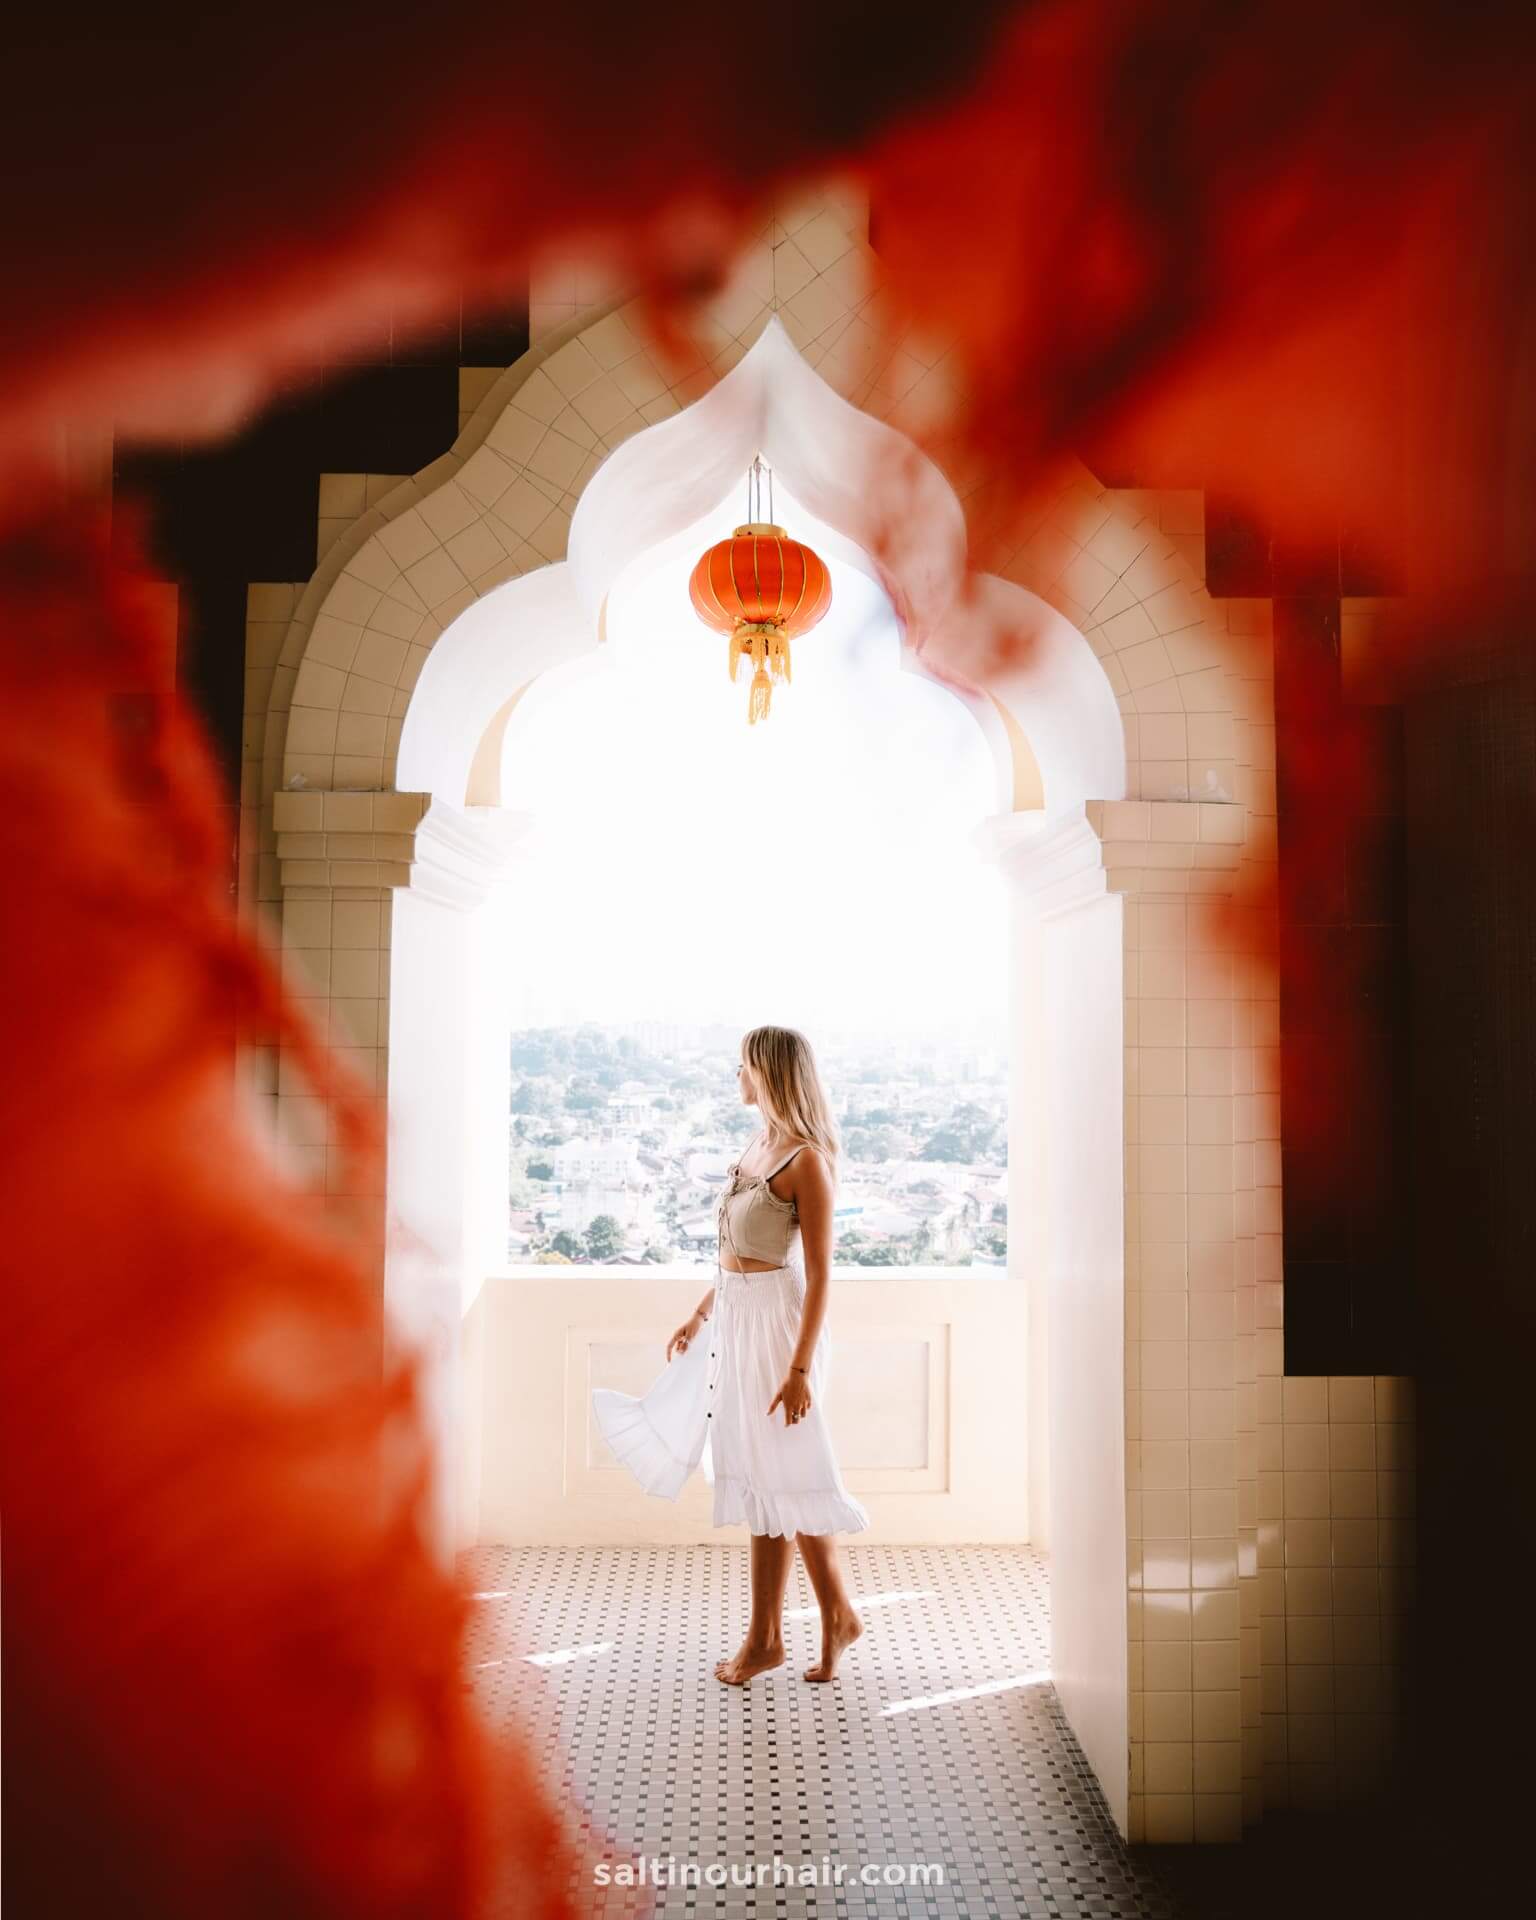
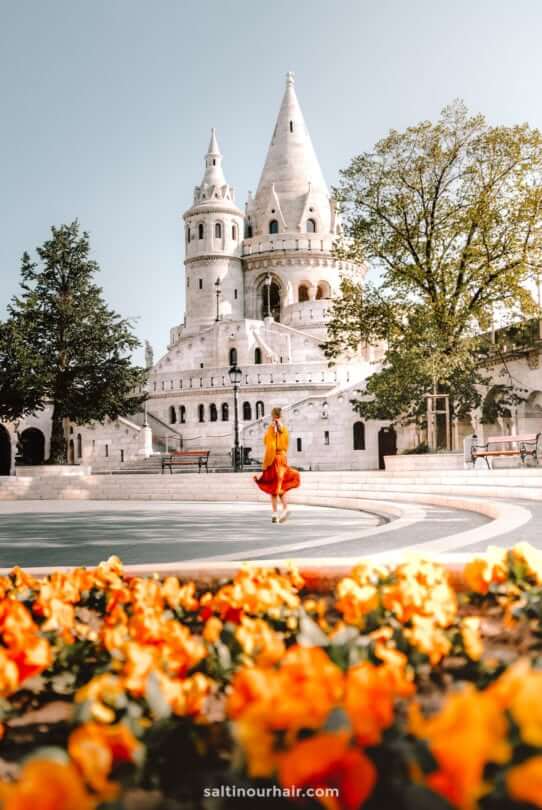
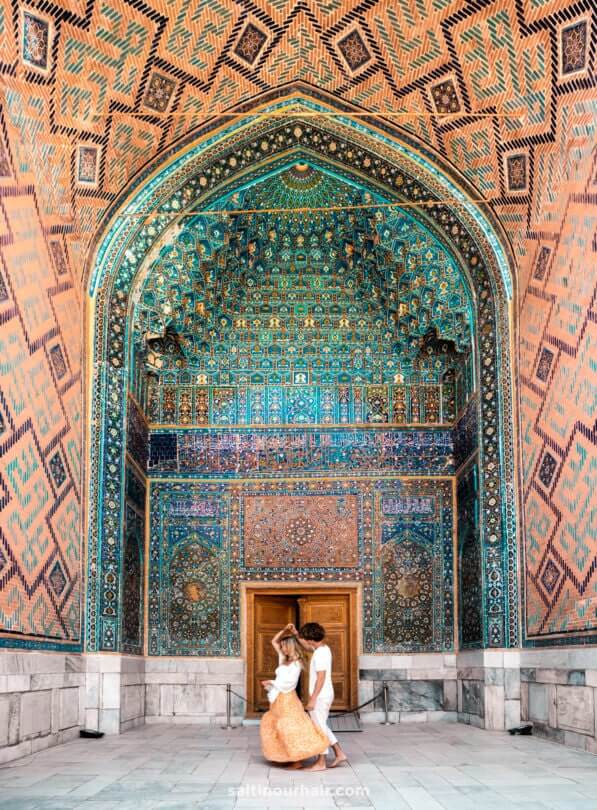
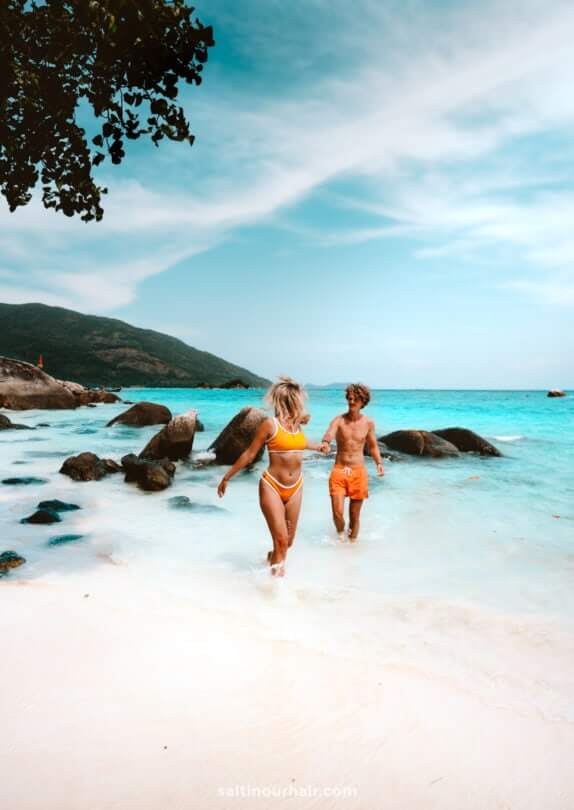
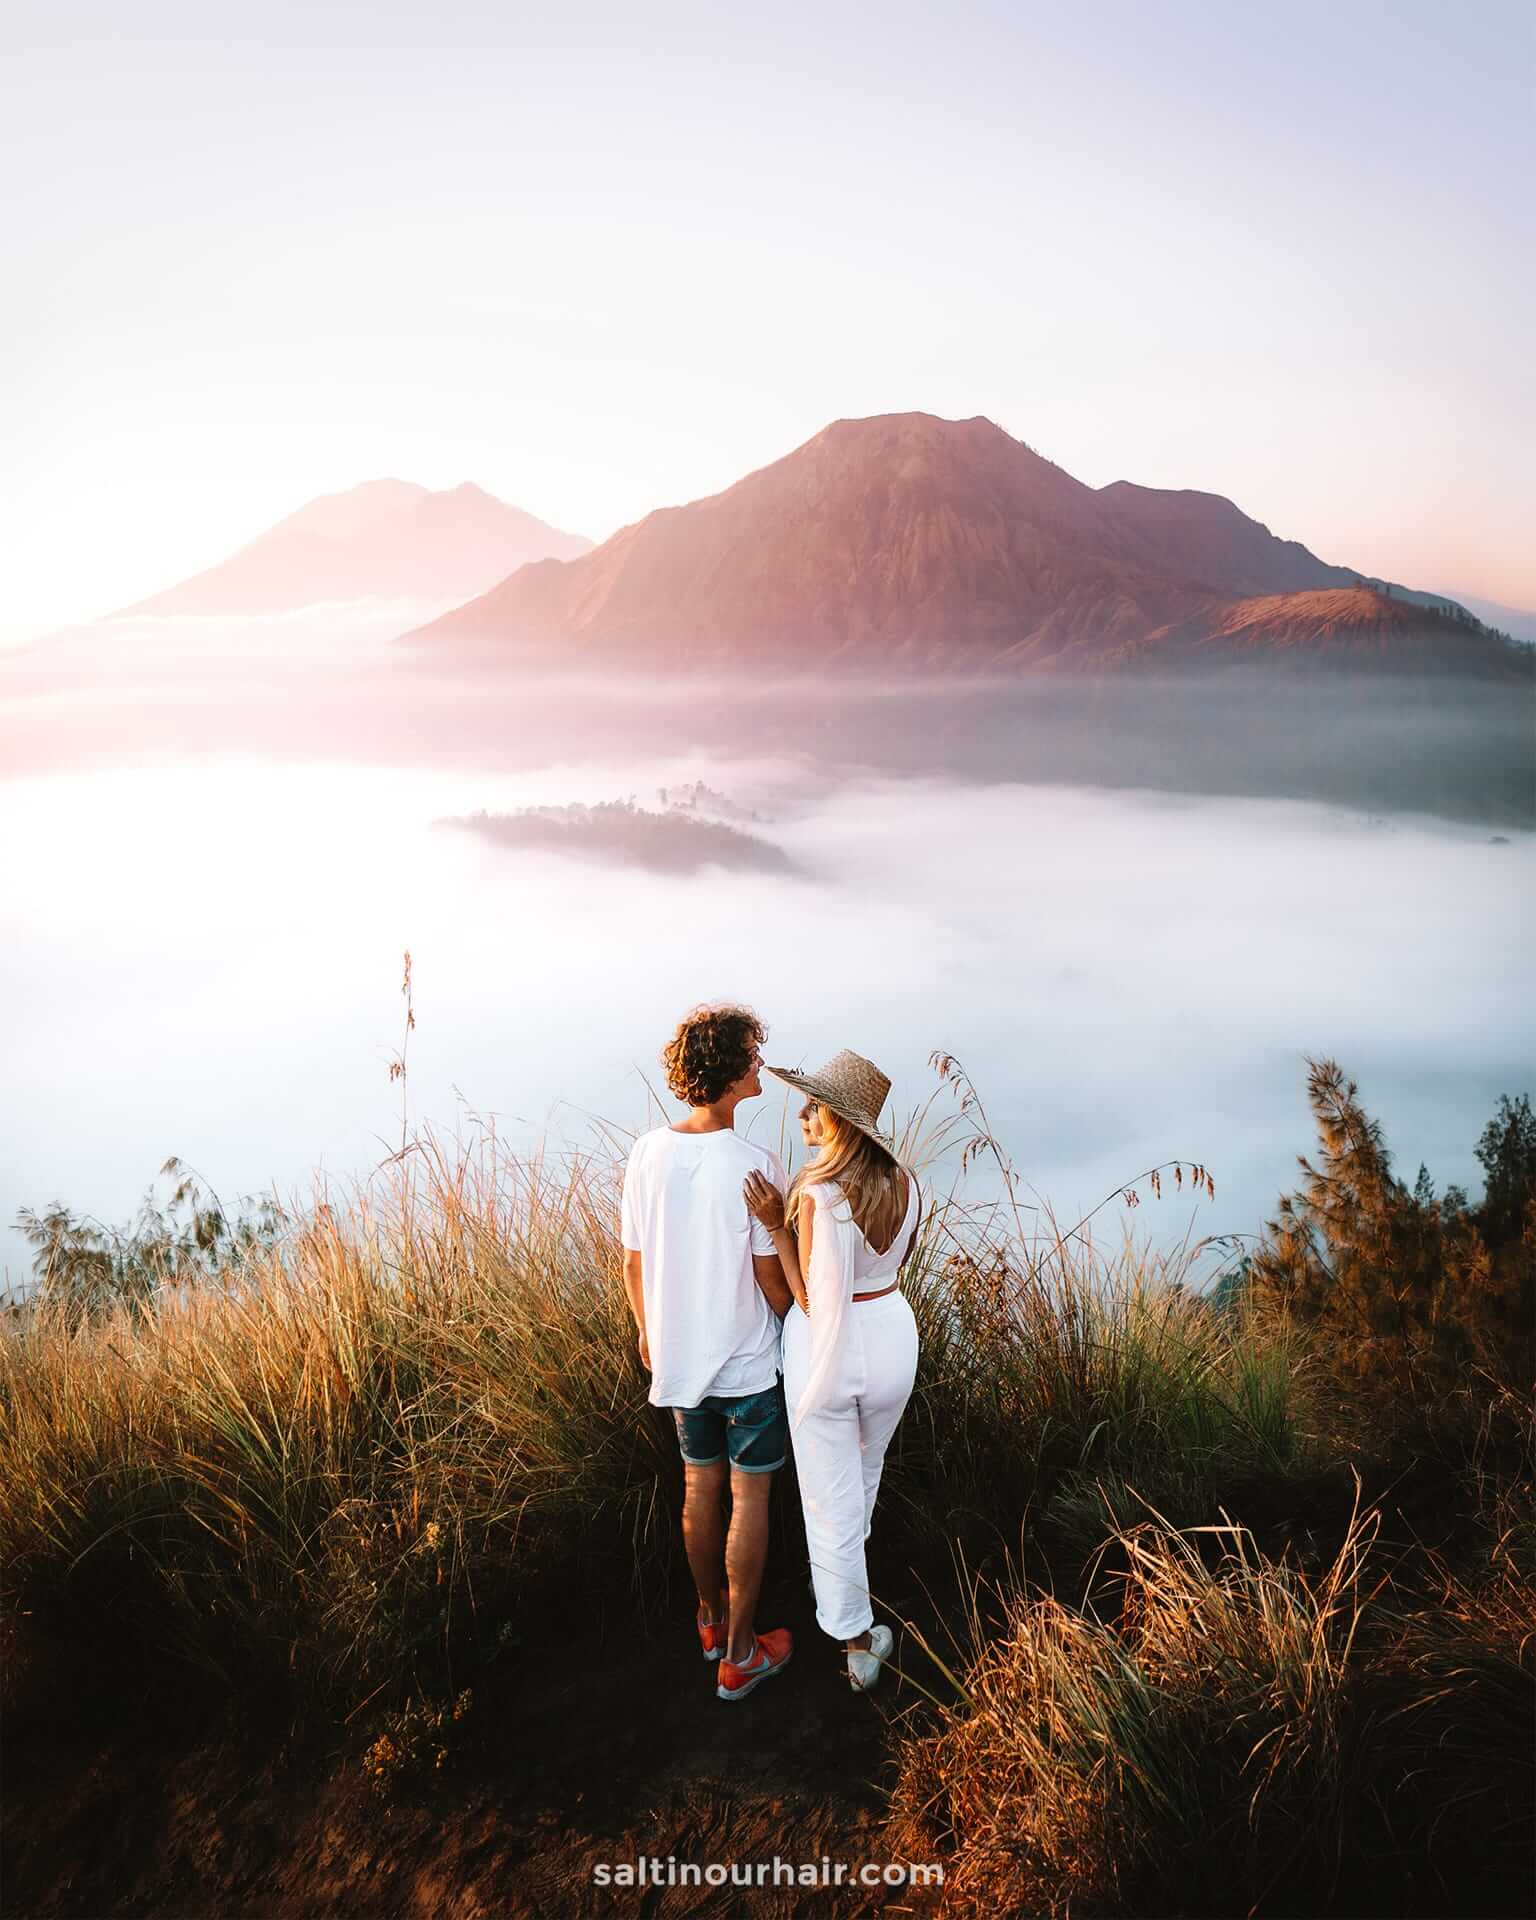
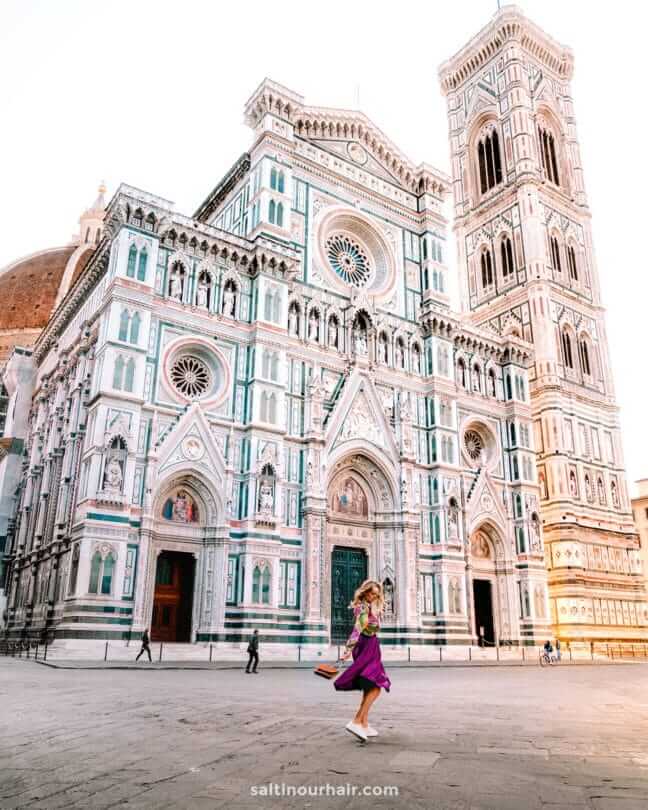
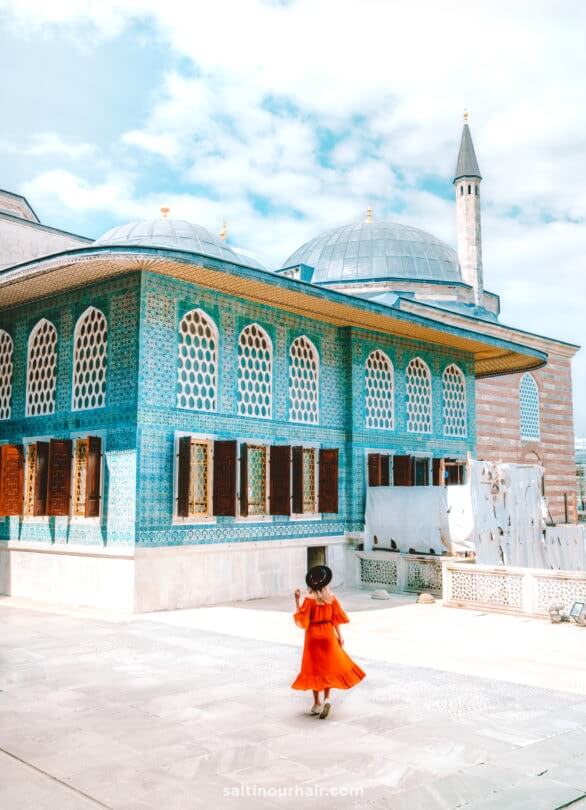
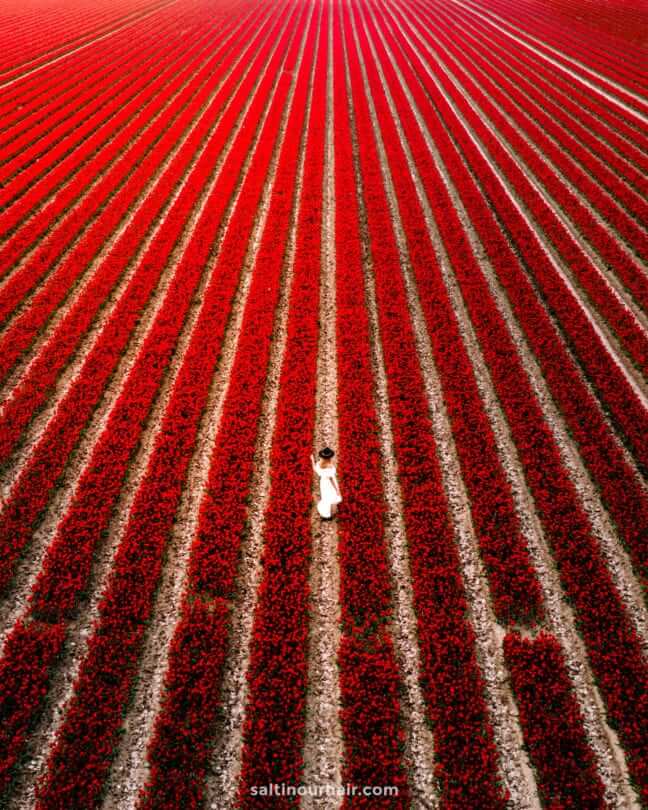
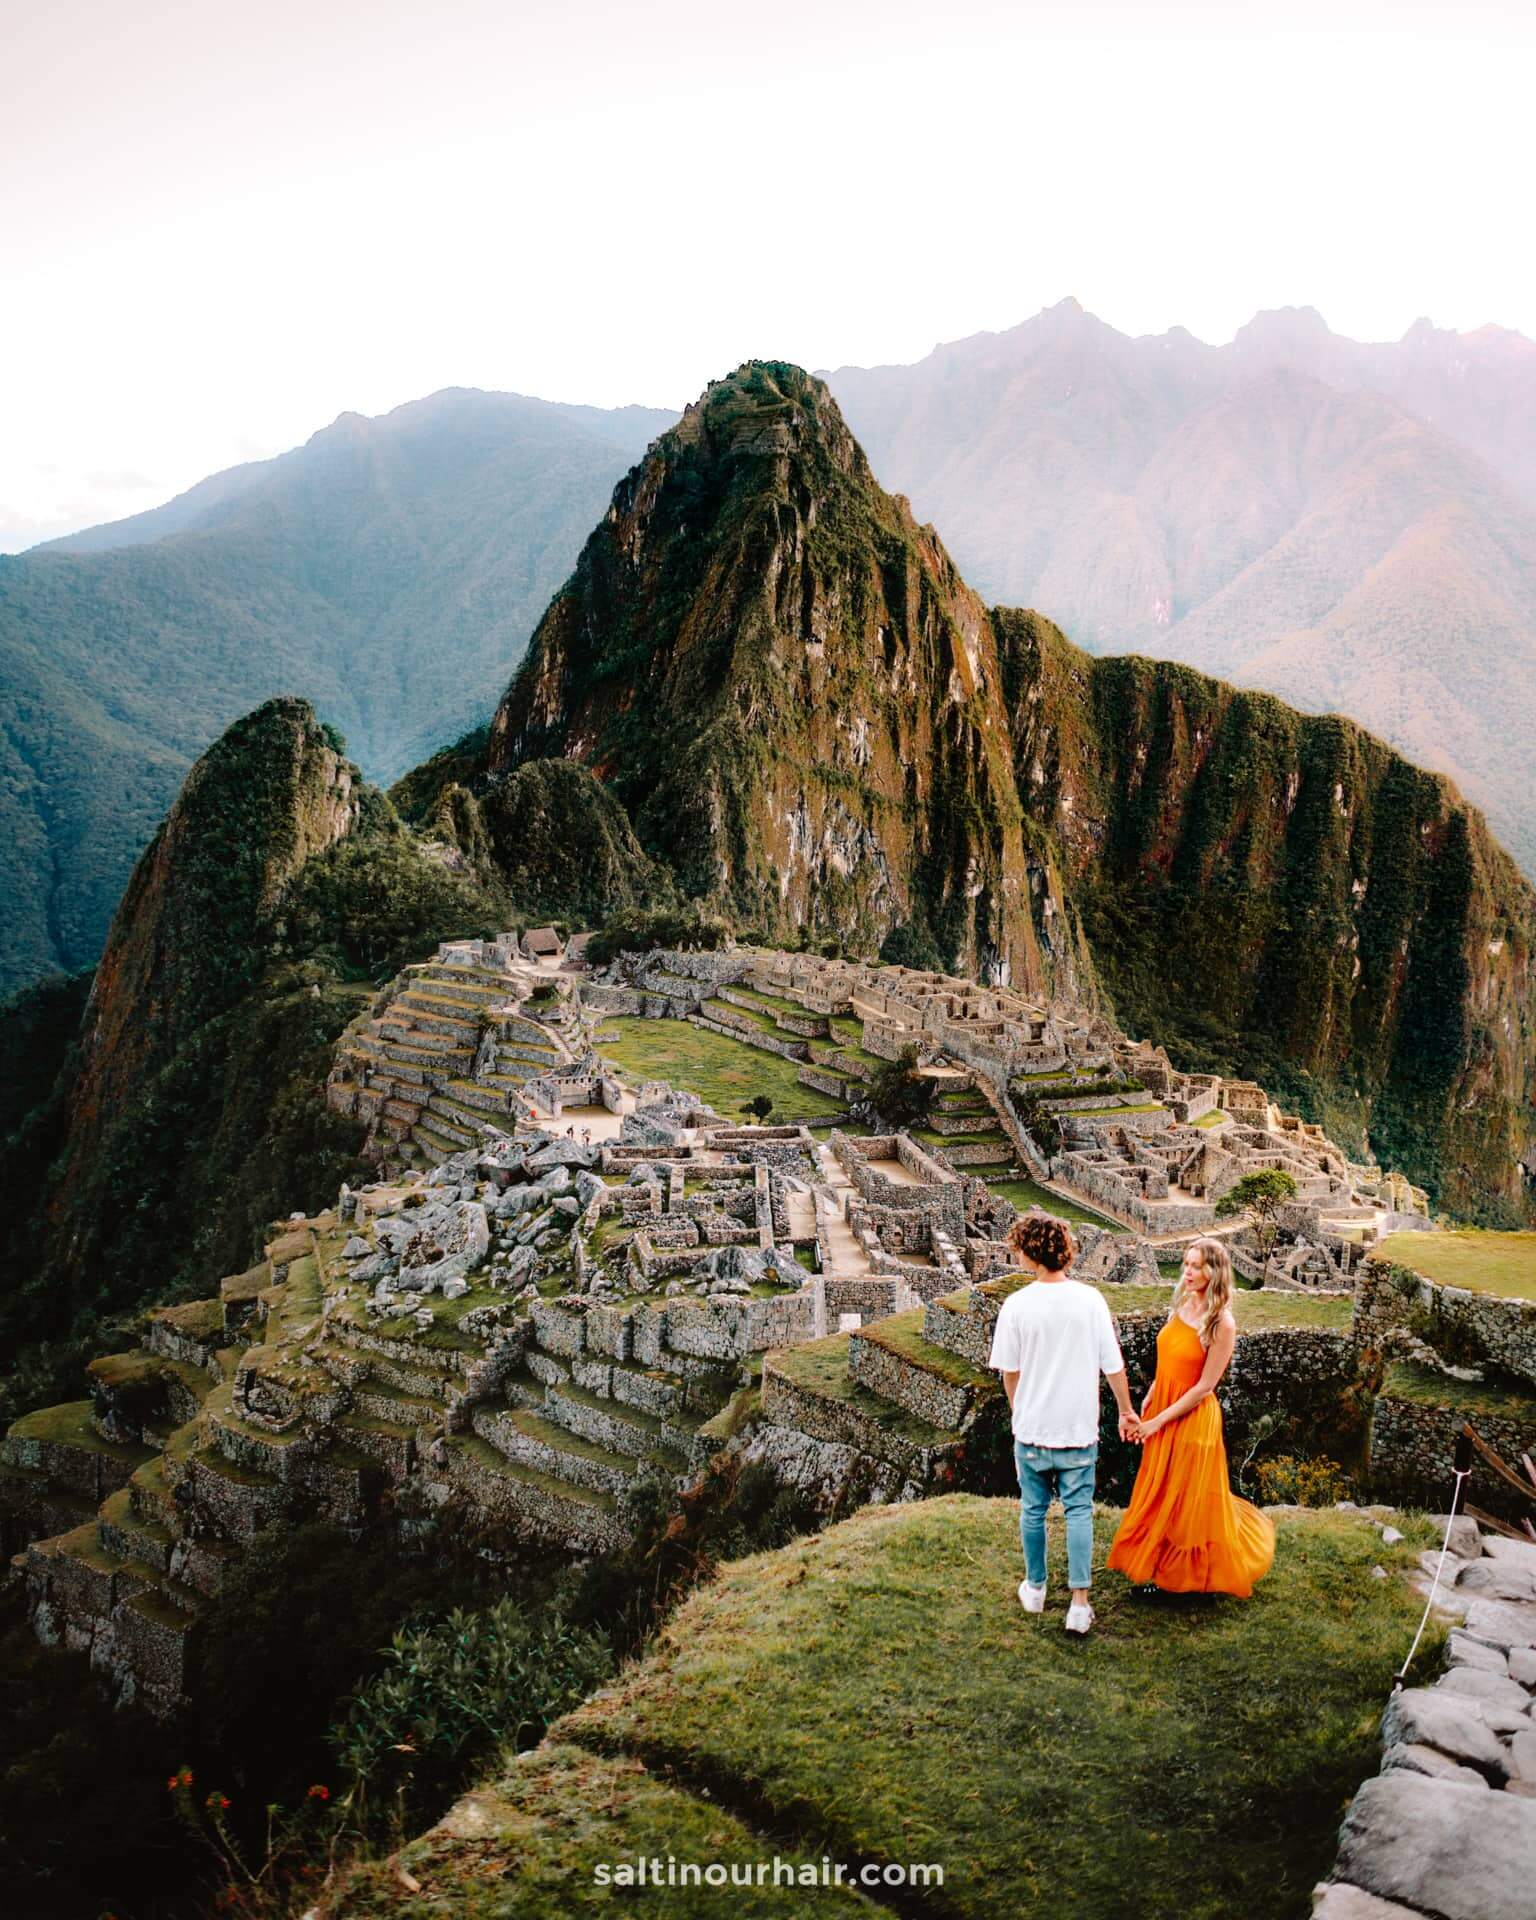
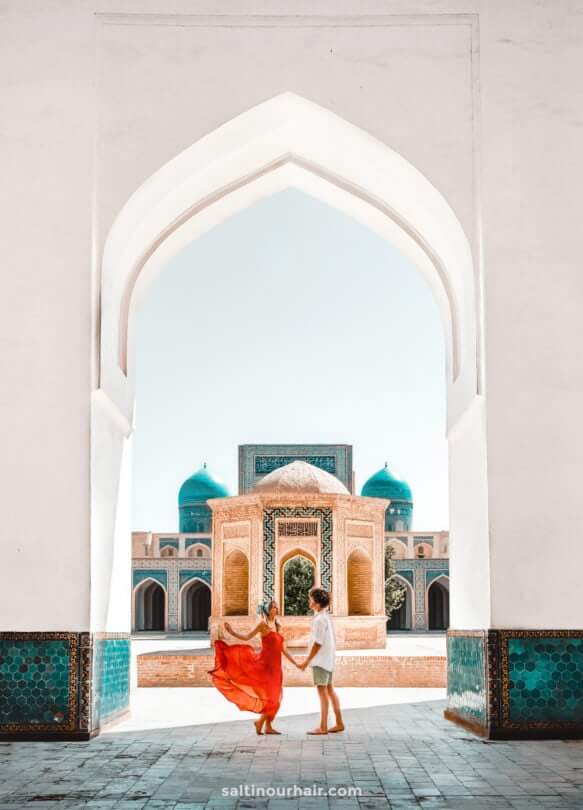
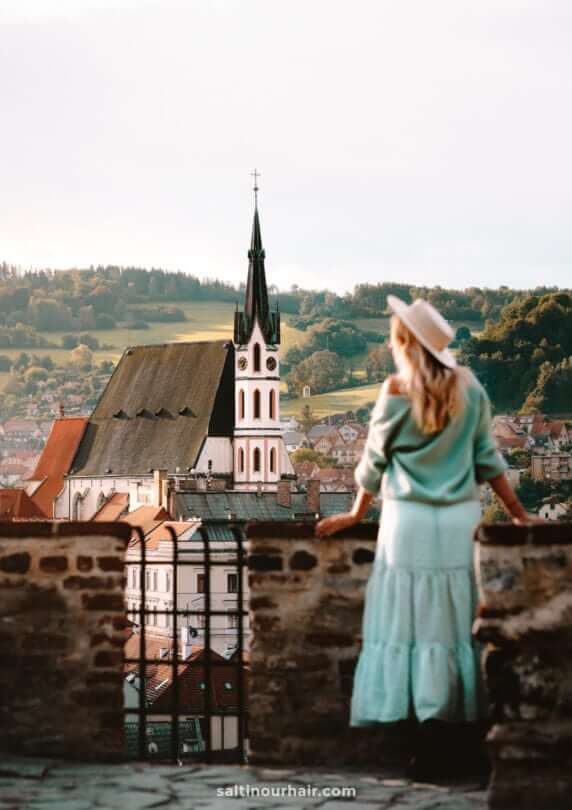
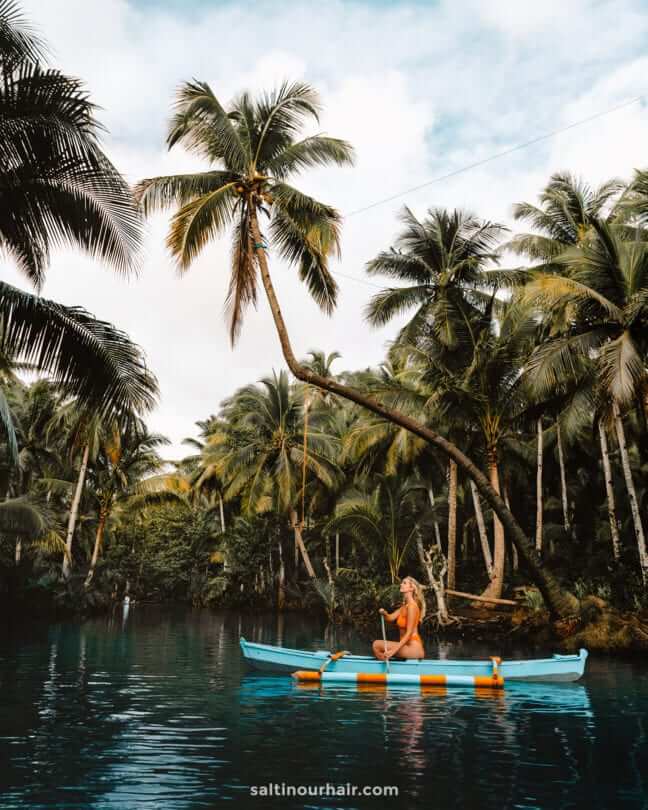
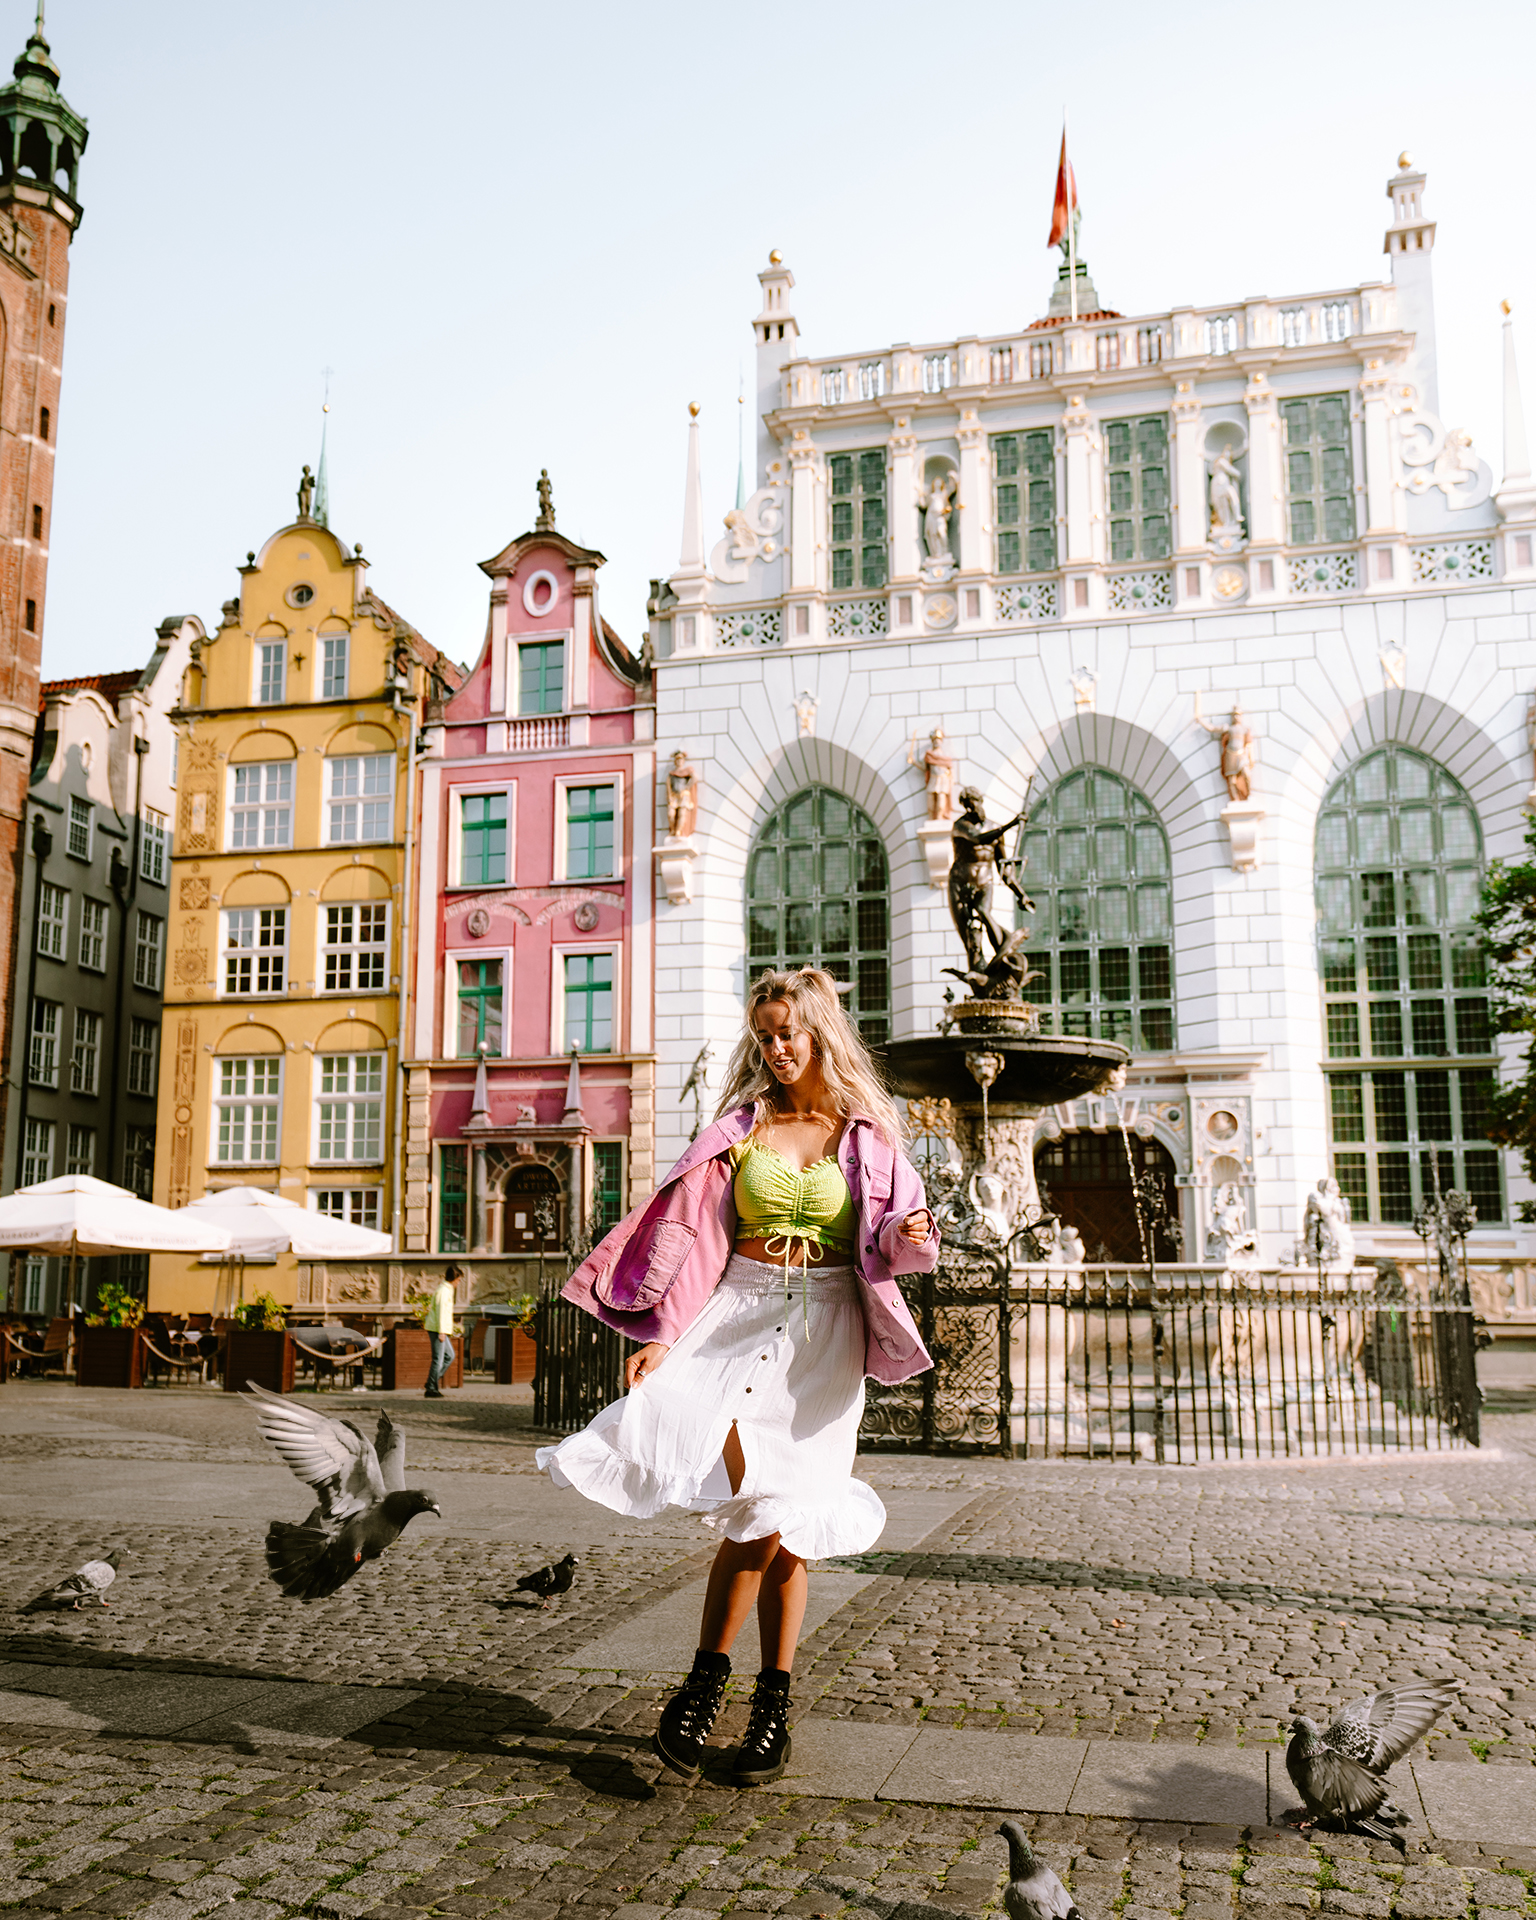
4. Outfits!
When photographing yourself or others try to choose clothing that is complimentary to your photo. For example, if you’re shooting in a green rice field, wear a color like yellow that will stand out against the landscape. Matching colors isn’t best in this situation, as you’ll just blur into the background, especially when the person is a small detail in the photo.
Our favorite travel photography tip is to use colors that ‘pop’, like orange, yellow, and white.
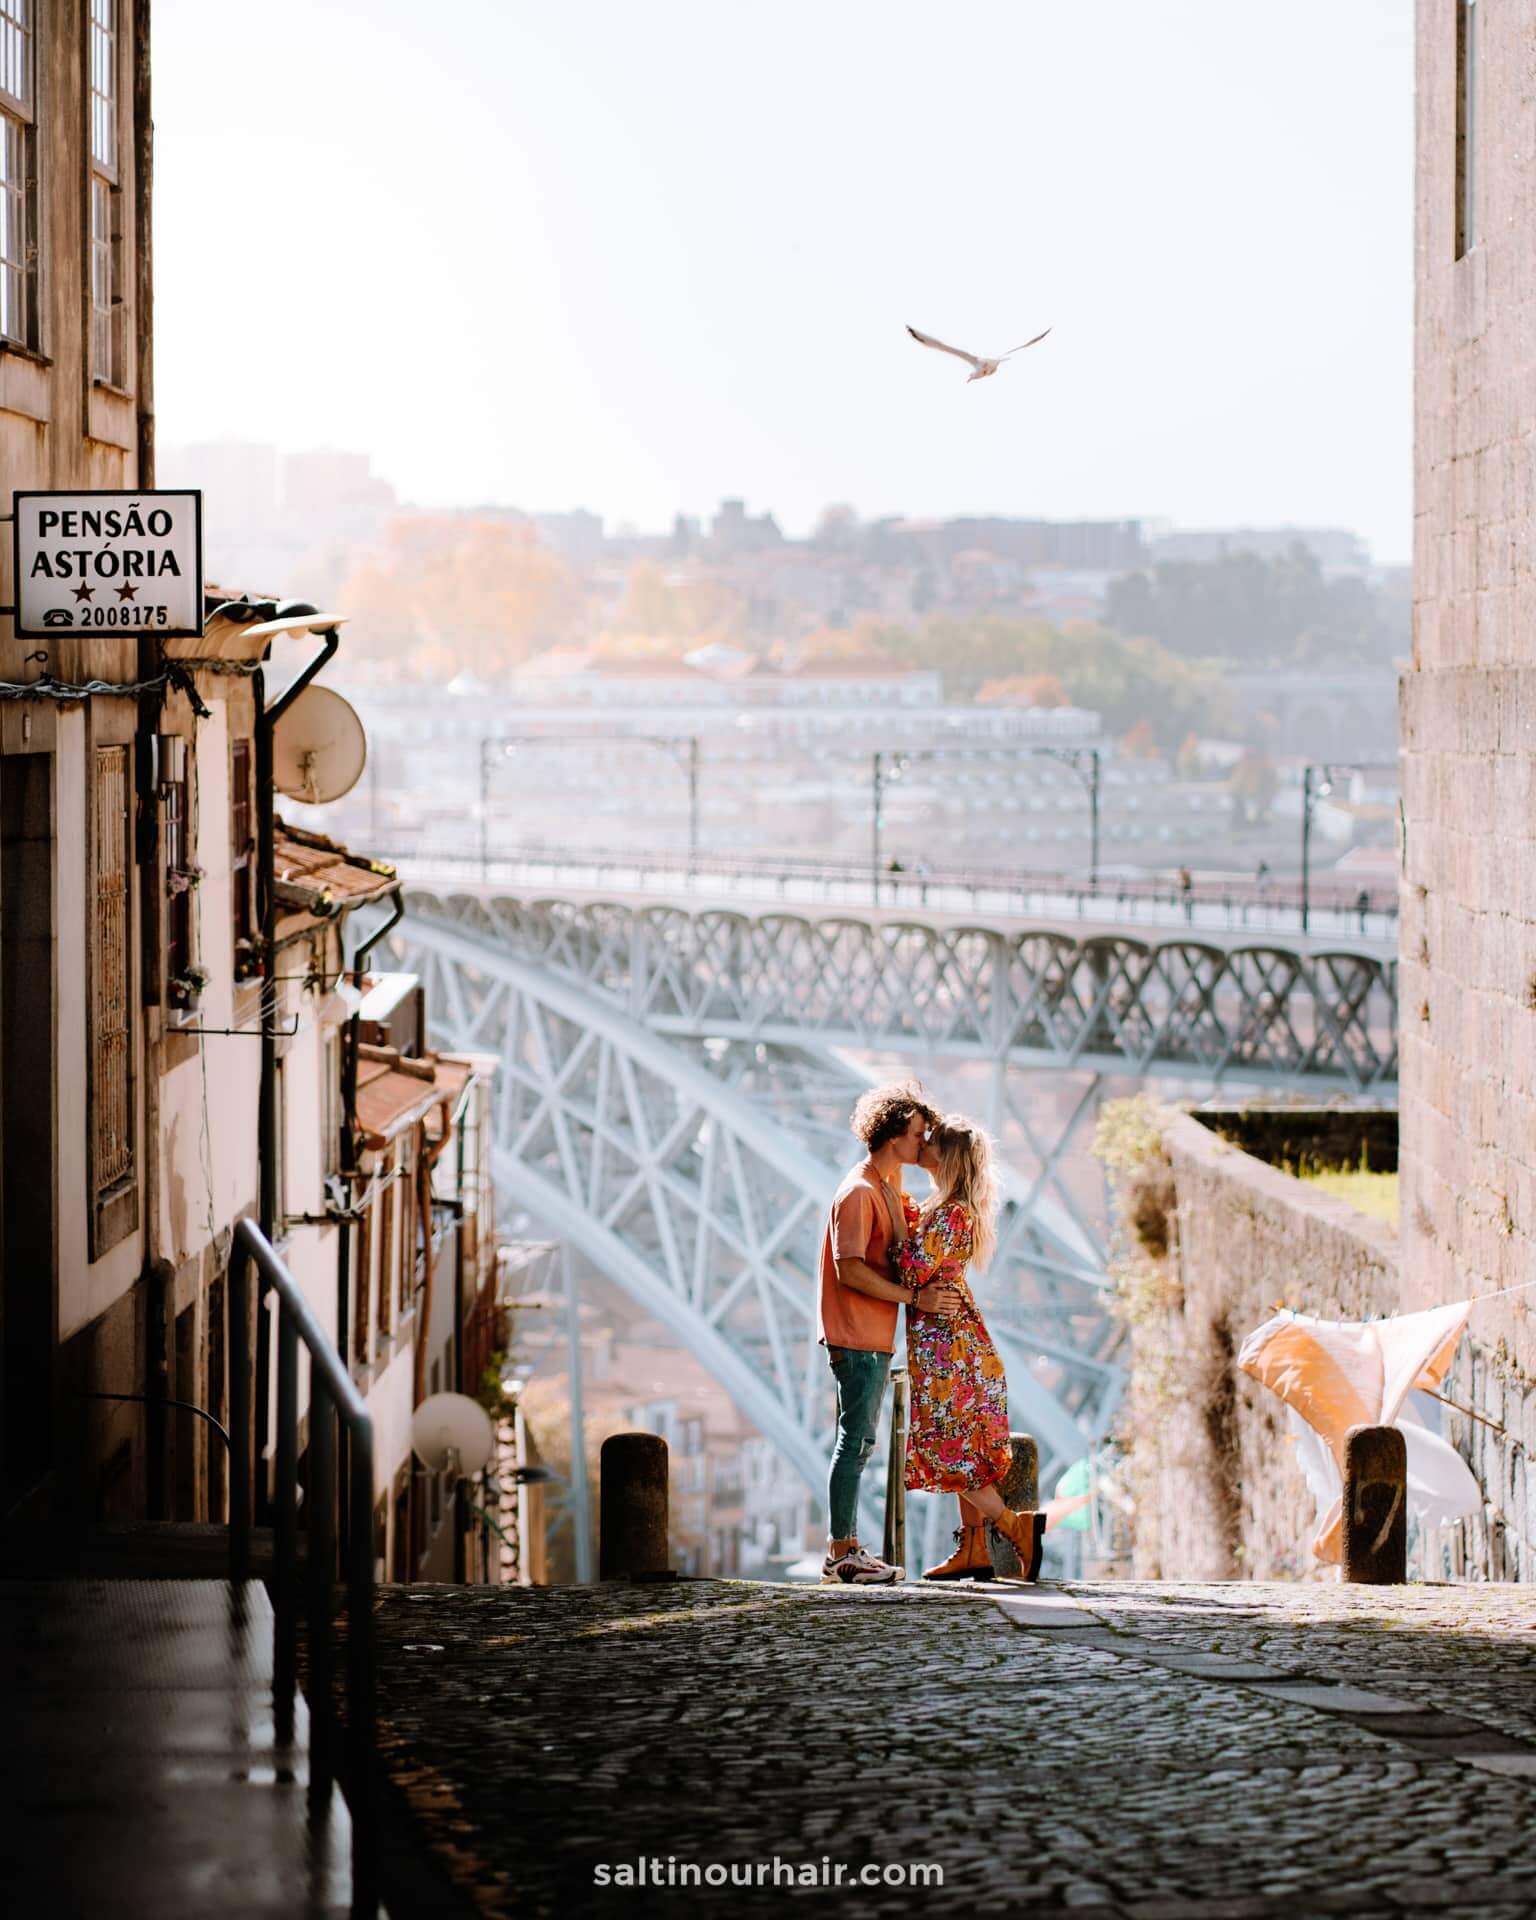
5. Change Your Perspective
Changing your perspective not only allows you to get a unique photo but’s also a great way to get around crowds and other distractions. We always use the example of our time in Rome, when we were visiting the colosseum.
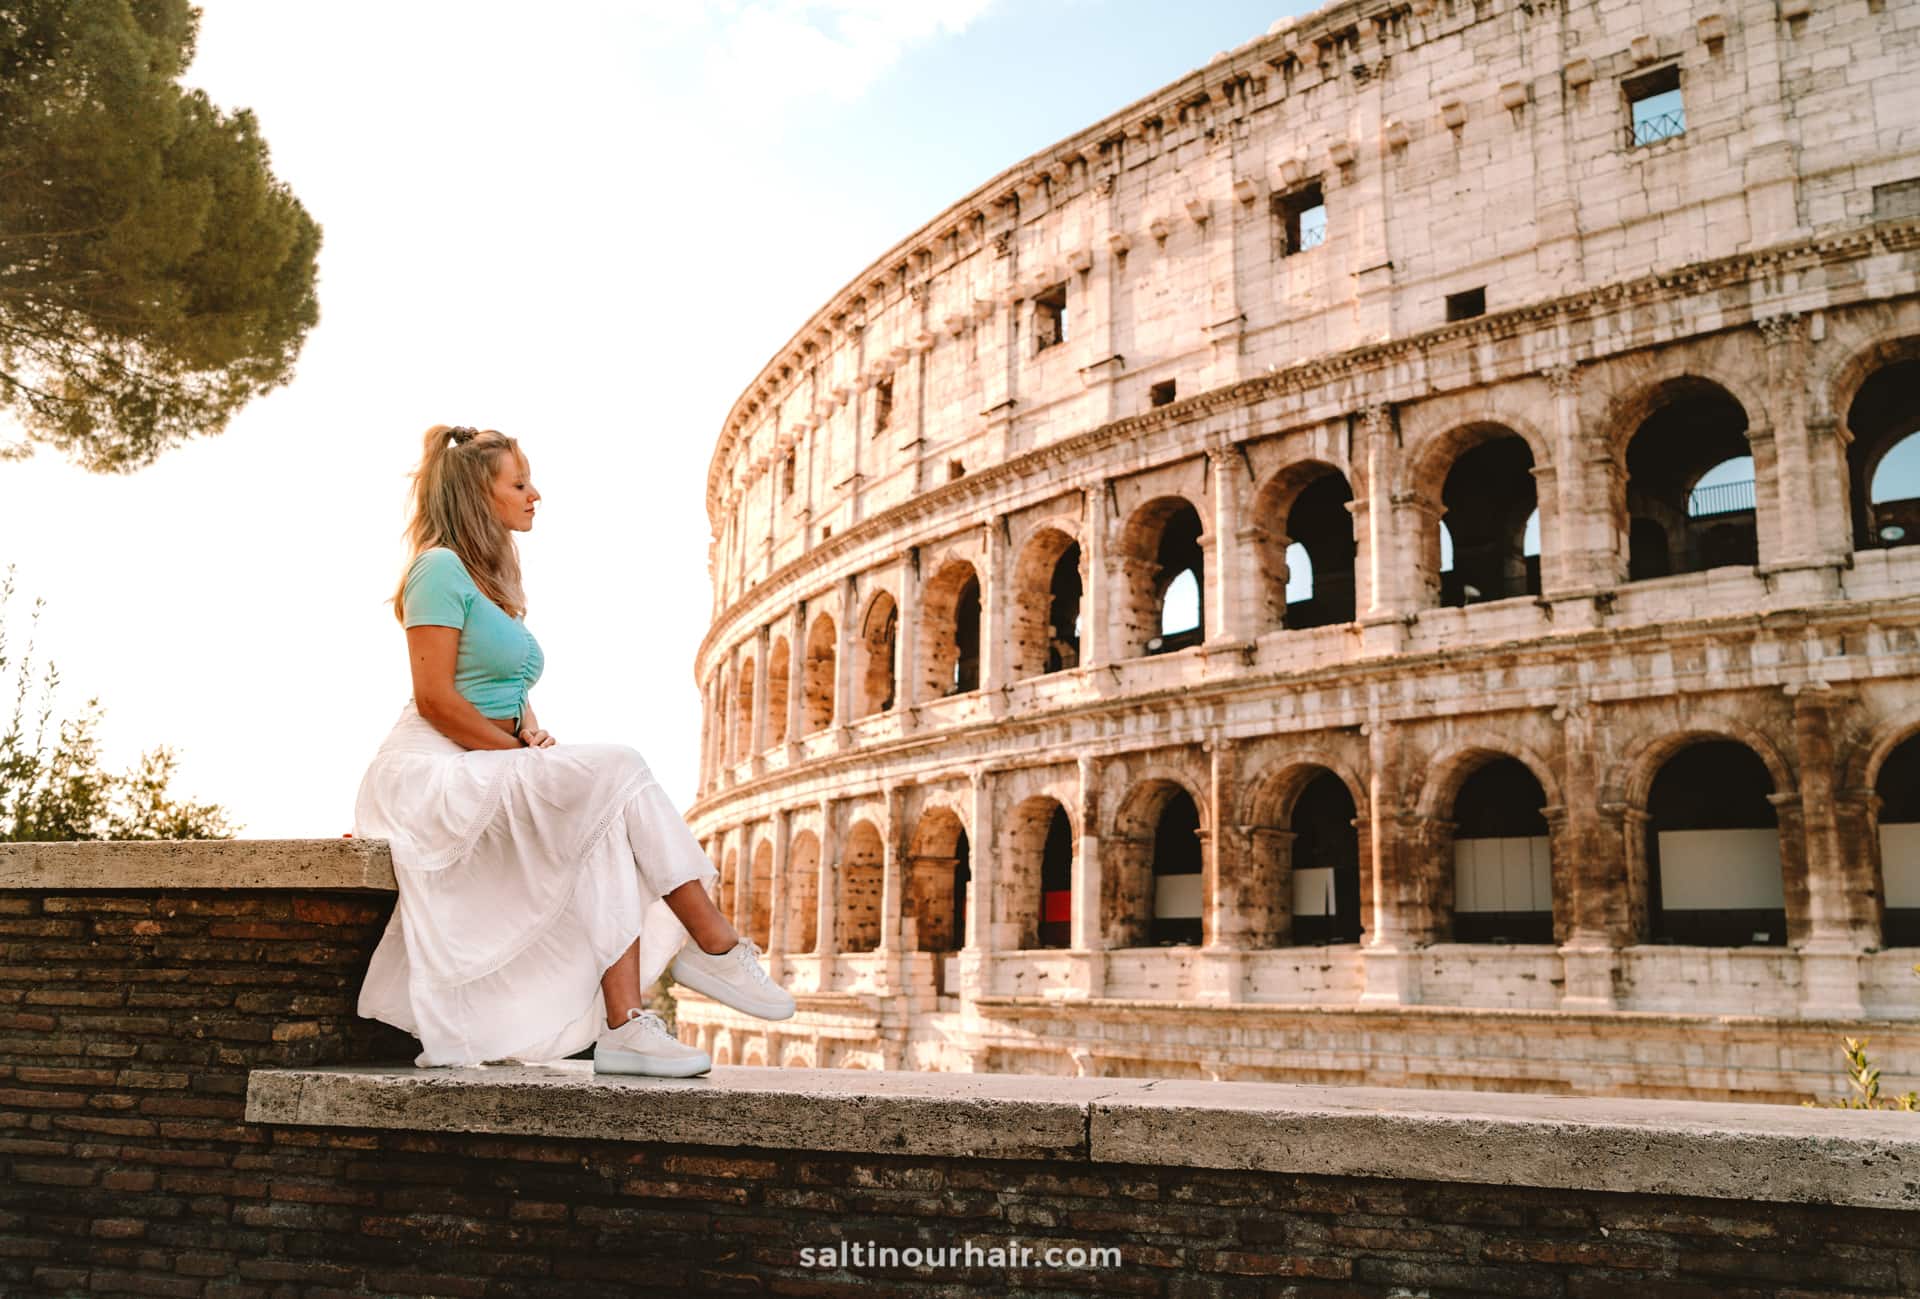
Hannah was sat on the wall and there was already a long line of people waiting just below her. When standing at a normal angle, all the people were in the shot. By getting down low, and changing the perspective to look up at Hannah, we eliminated the people in the photo and got the perfect photo of the colosseum.
Find that unique angle and don’t be afraid to get into weird positions and places. You may look a little strange but it’ll be well worth it!
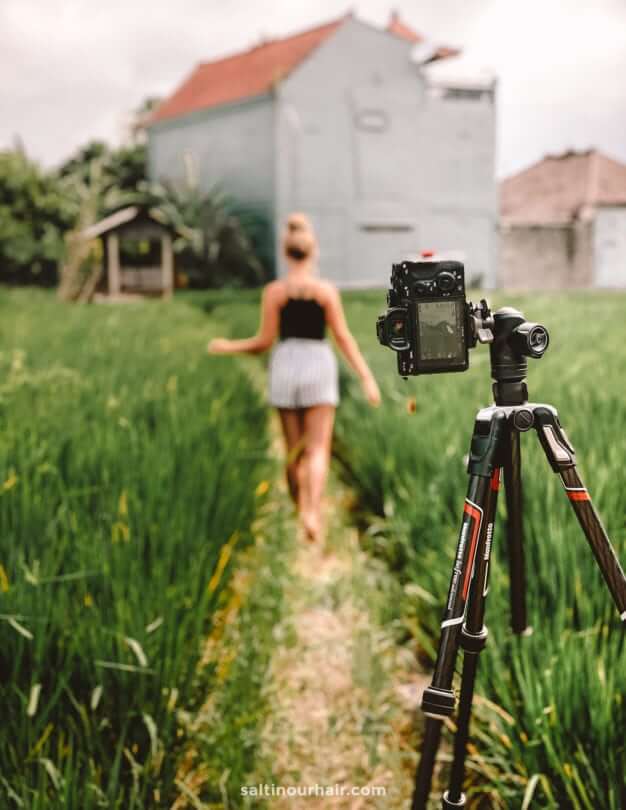
6. Tripod for Travel Photography
Whether you’re traveling solo or as a couple, a tripod is an essential photography tool. Asking people to take your photo can be difficult and time-consuming, as you’ll have to position them with the correct camera angle, and take the time to get yourselves into place. By the time you’ve done this, you might have missed the moment completely! For this reason, our travel photography tip is to use a tripod so that you can position the camera or phone as you wish.
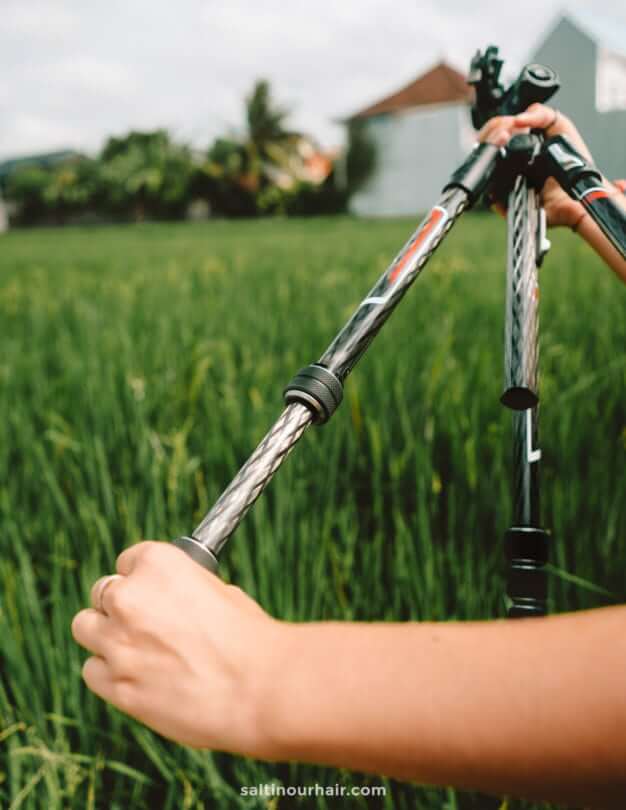
Tripods can be heavy but there are lightweight options available, such as the ‘Manfrotto Befree Advanced Carbon‘. You can also get the ‘Gorilla Pod’, which is a flexible phone tripod that you can bend around anything, whether it’s poles or trees.
Travel Photography Tip: Pack your tripod in your check-in luggage, as some airlines have strict hand luggage policies because of their size and weight.

7. Timer or Time-Lapse Function
When using a tripod to capture your shot, it’s very useful to set your camera to a time-lapse function or buy yourself a timer. Either use a remote timer, that connects via Bluetooth or through build-in software in your camera (if supported).
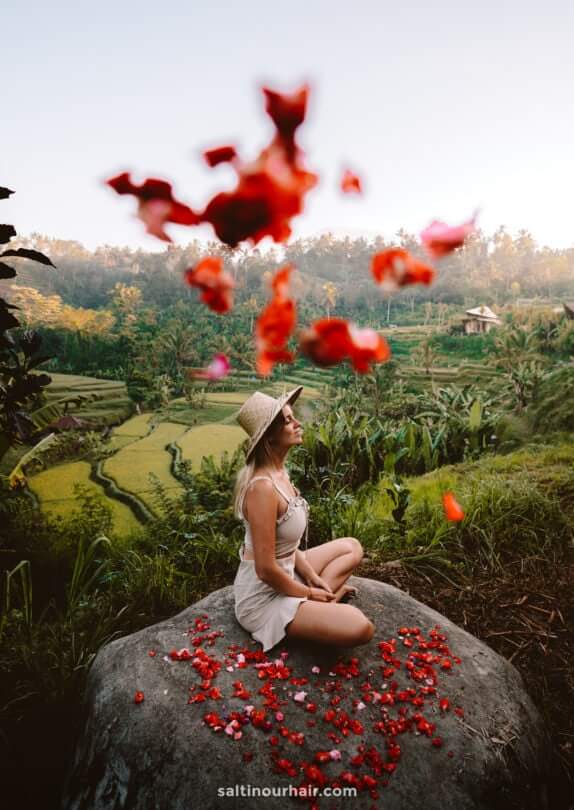
Using a timer for your travel photography allows you to have yourself in the shot or to shoot time-lapses easily. Create a movement in your photos by changing your position or the flow of your clothing after each shot.
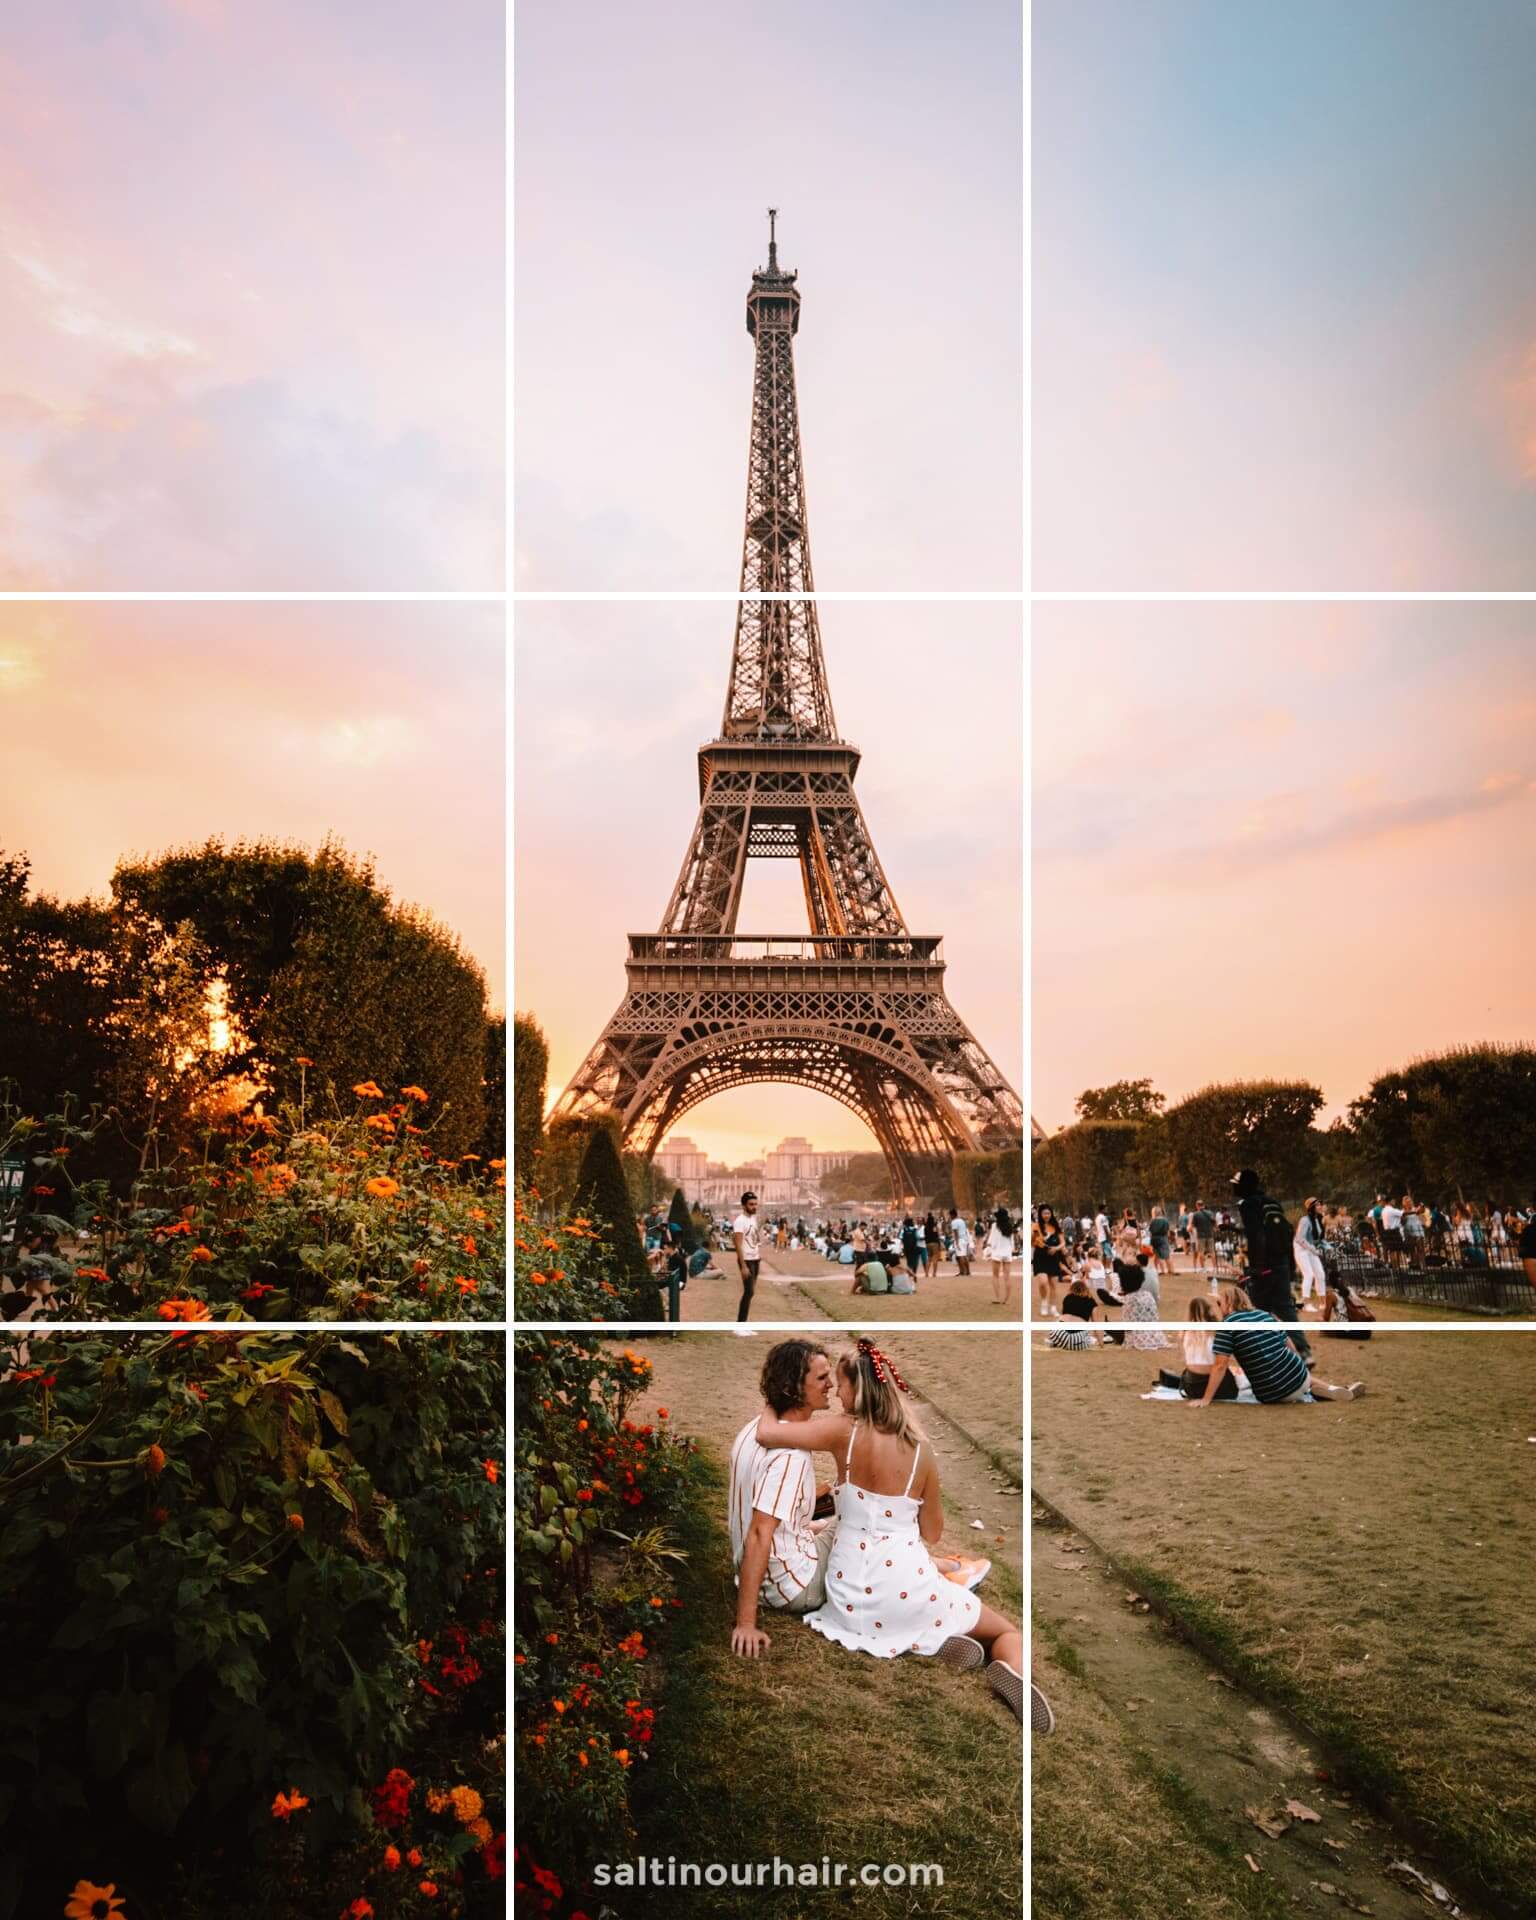
8. The Rule of Thirds – General Photography Tip
Get the right composition by applying the rule of thirds; this is one of the best travel photography tips. The principle behind the rule of thirds is to break an image down into thirds (both horizontally and vertically) by displaying lines so that you have a 9 grid.
When placing the points of interest in the intersections or along the lines your photo becomes more balanced for your viewer.
Travel Photography Tip: The rule of thirds is important, but make sure to also look for contrasting colors, interesting backgrounds, and symmetry to get outstanding photos.
RAW images are unedited and don’t look great at first, however, there is far more information to work with later on in for example Lightroom. As a result, it’s much easier to edit highlights, and white balance, as well as play around with the colors, leaving you with a really powerful photo.
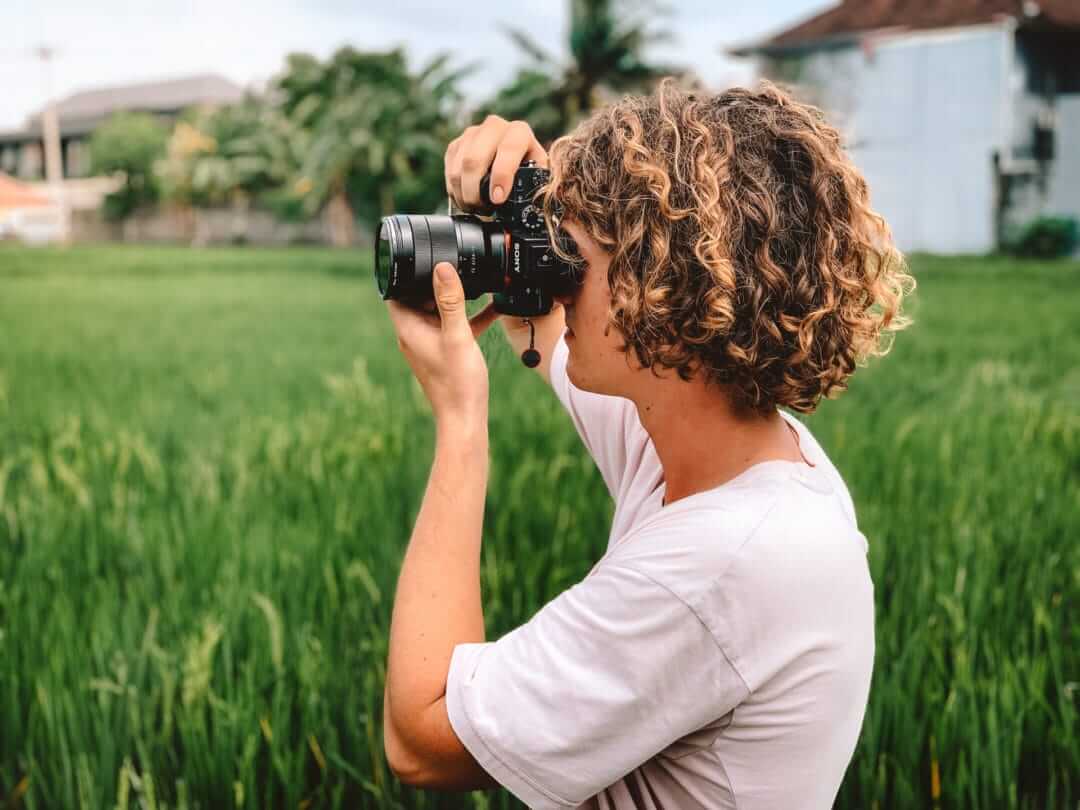
10. The right Lens
Depending on what you’re shooting that day, you’ll need different lenses. For example, a wide-angle lens of 16-35 mm is best for landscapes, and photos where space is limited. If you’re shooting details and portraits, use the prime lens mentioned above.
For the perfect middle ground use the Sony 24-70mm Vario-Tessar F4. It’s very flexible, as you can do both wide landscape photography and detailed portraits. This saves you from carrying around numerous heavy lenses and cameras.
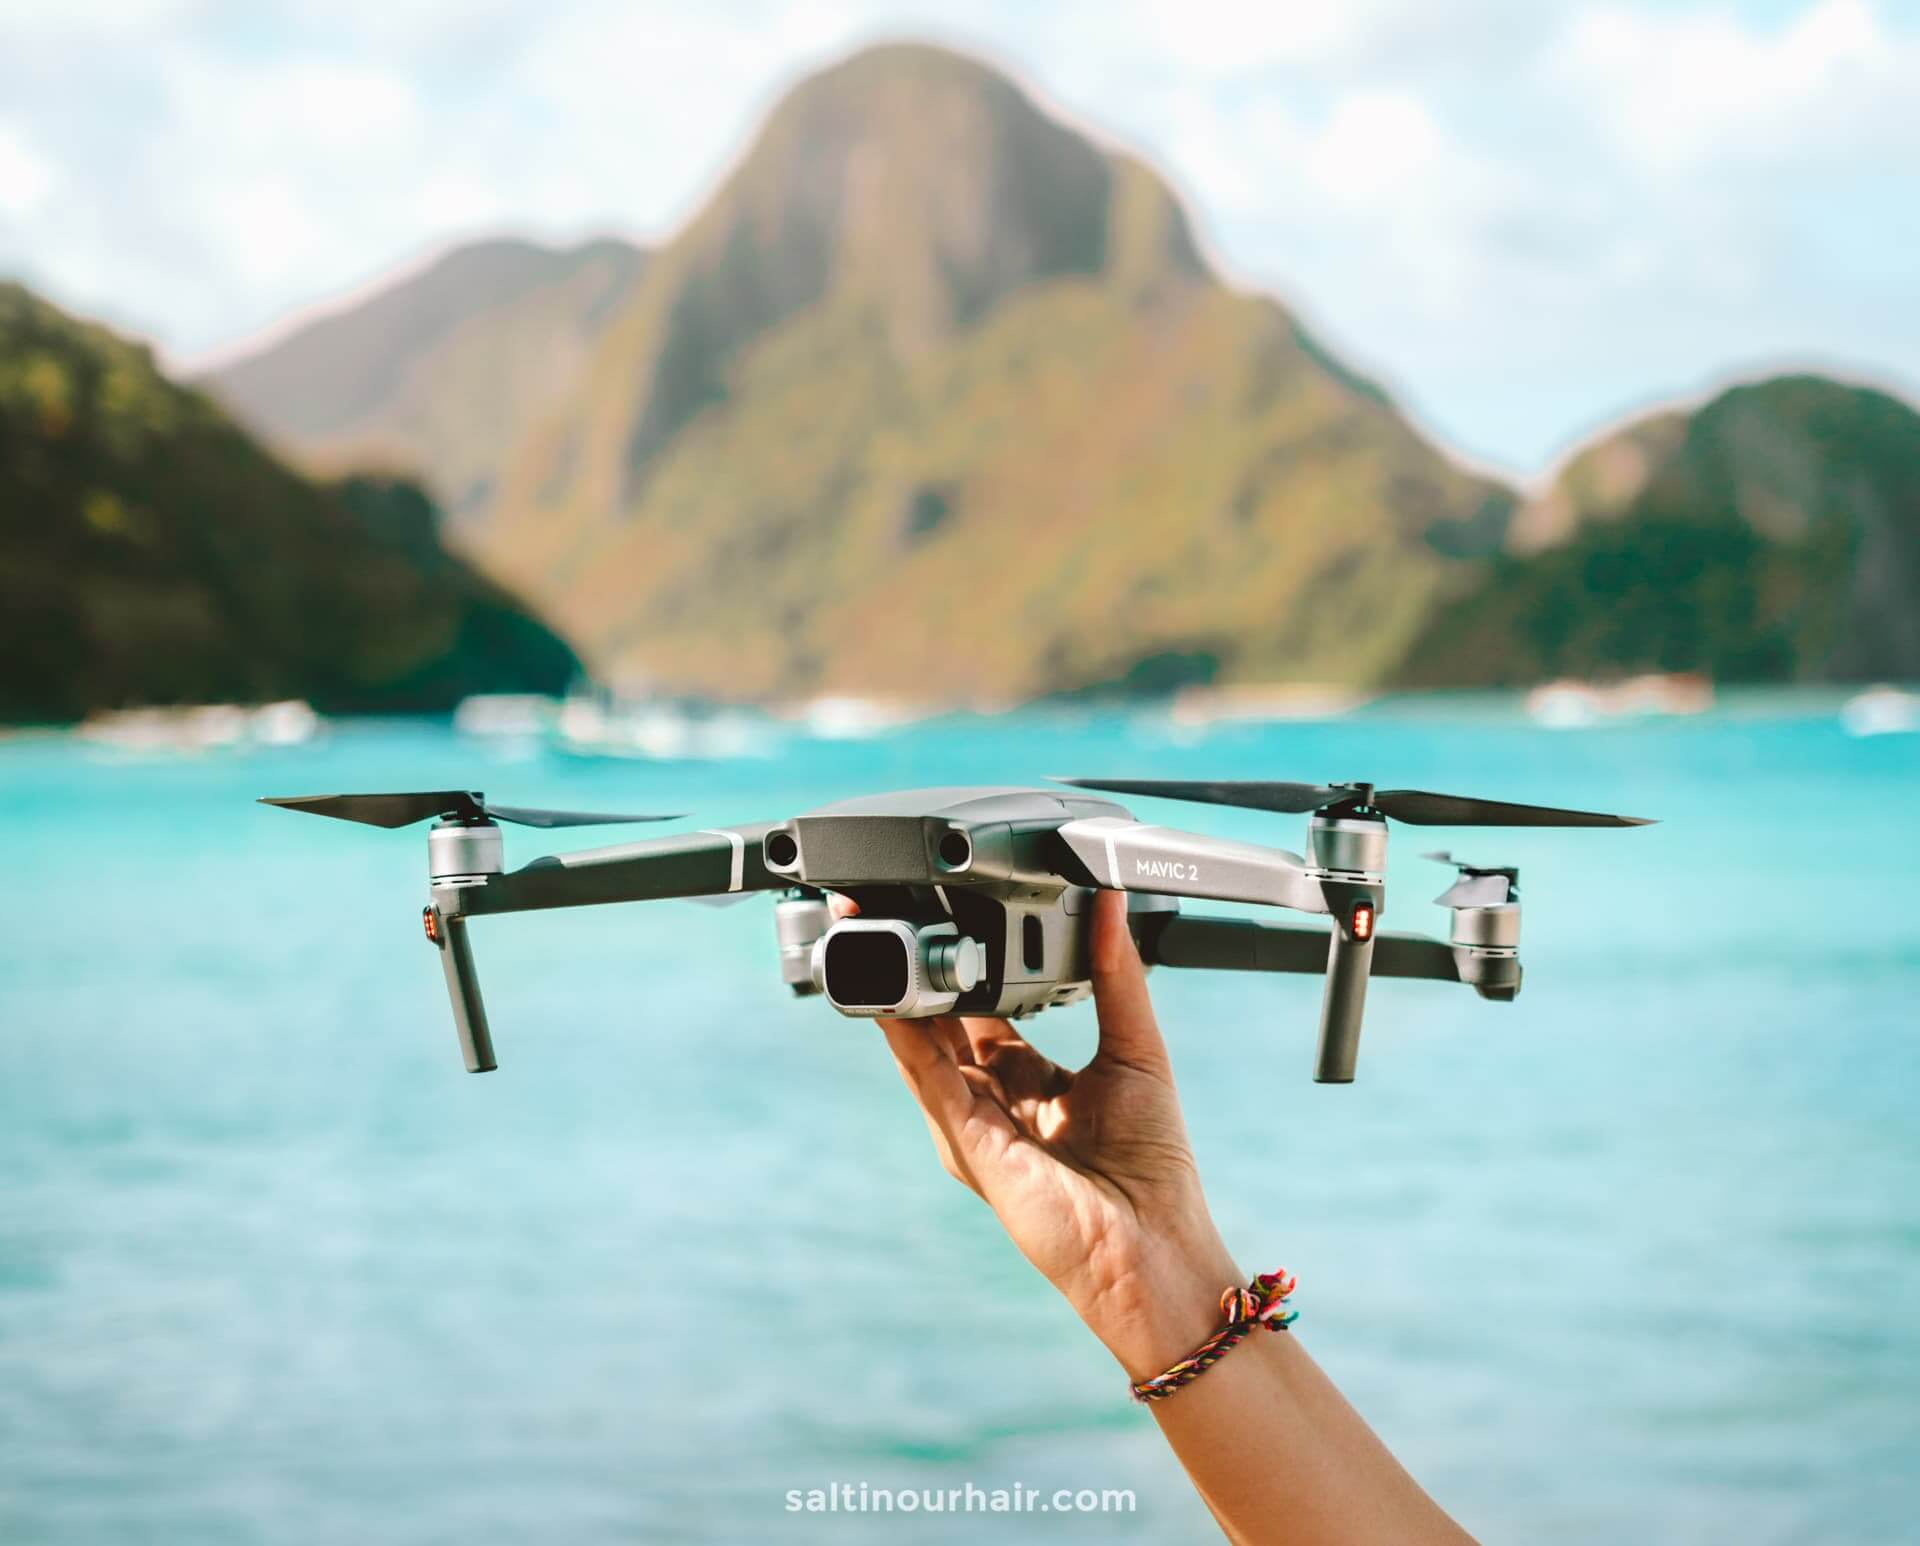
Want to get a bird’s eye view? Consider adding a drone to your collection to capture unique photos and videos from above. Always check drone regulations before visiting your destination, as some countries prohibit them and will confiscate them on entry.
Travel Photography Tip
Try to also shoot in aperture mode, best done with a 50mm or 85mm lens. This adds a blur in the background (bokeh) and brings the subject of your photo into focus. We use the Sony 85mm F1.8: a prime lens with a wider aperture and fixed focal length. You can’t zoom, but you’ll get the perfect result with portrait photography and low light.
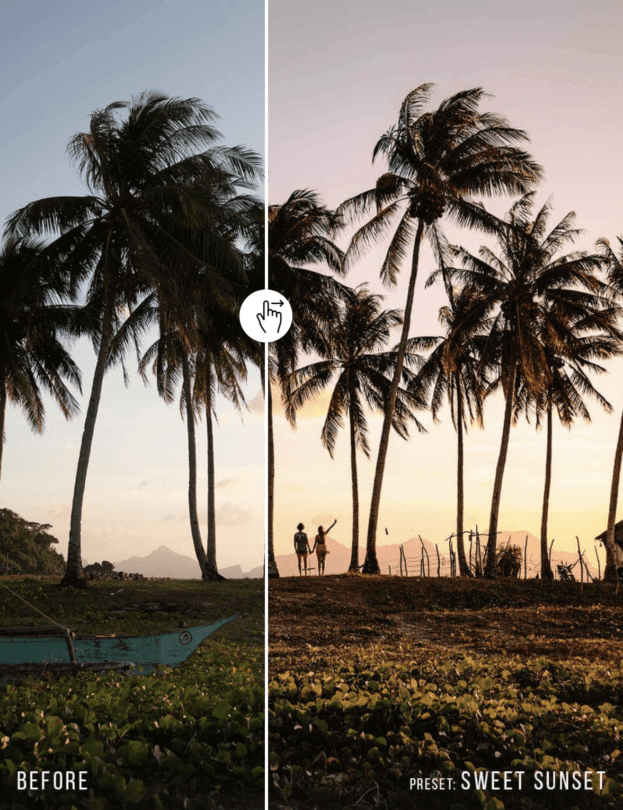
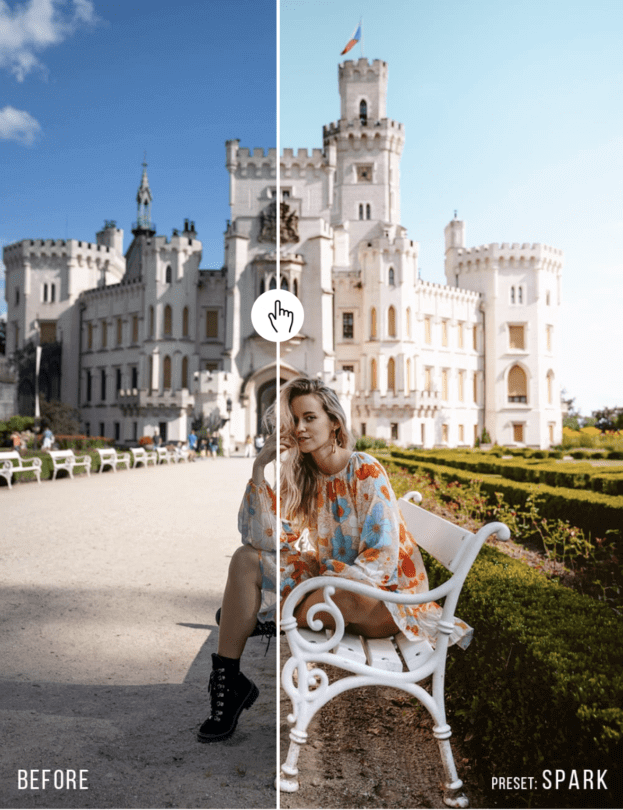
11. Edit in Lightroom
Lightroom is a perfect application to edit your photos and create your own unique styles. Load your RAW images into Lightroom and start experimenting! In doing this, we have created our own presets, which we use ourselves and are also available to purchase. (See this video on how we use our presets)
12. Have Patience in Crowds
If you don’t have the opportunity to catch the sunrise and avoid the crowds, it can be harder to capture your perfect shot. However, with a little patience, it is certainly possible!
When you’re in a busy city, a good travel photography tip would be to position yourself, line up the camera, and get your subject ready (in our case, Hannah). You may be waiting for a while, but there is always a brief moment of peace where you can take the photo. For instance, when the traffic lights have turned red or the crowd of tourists has just moved on to the next statue. In this time, you can normally find a gap of several seconds to shoot the perfect image.
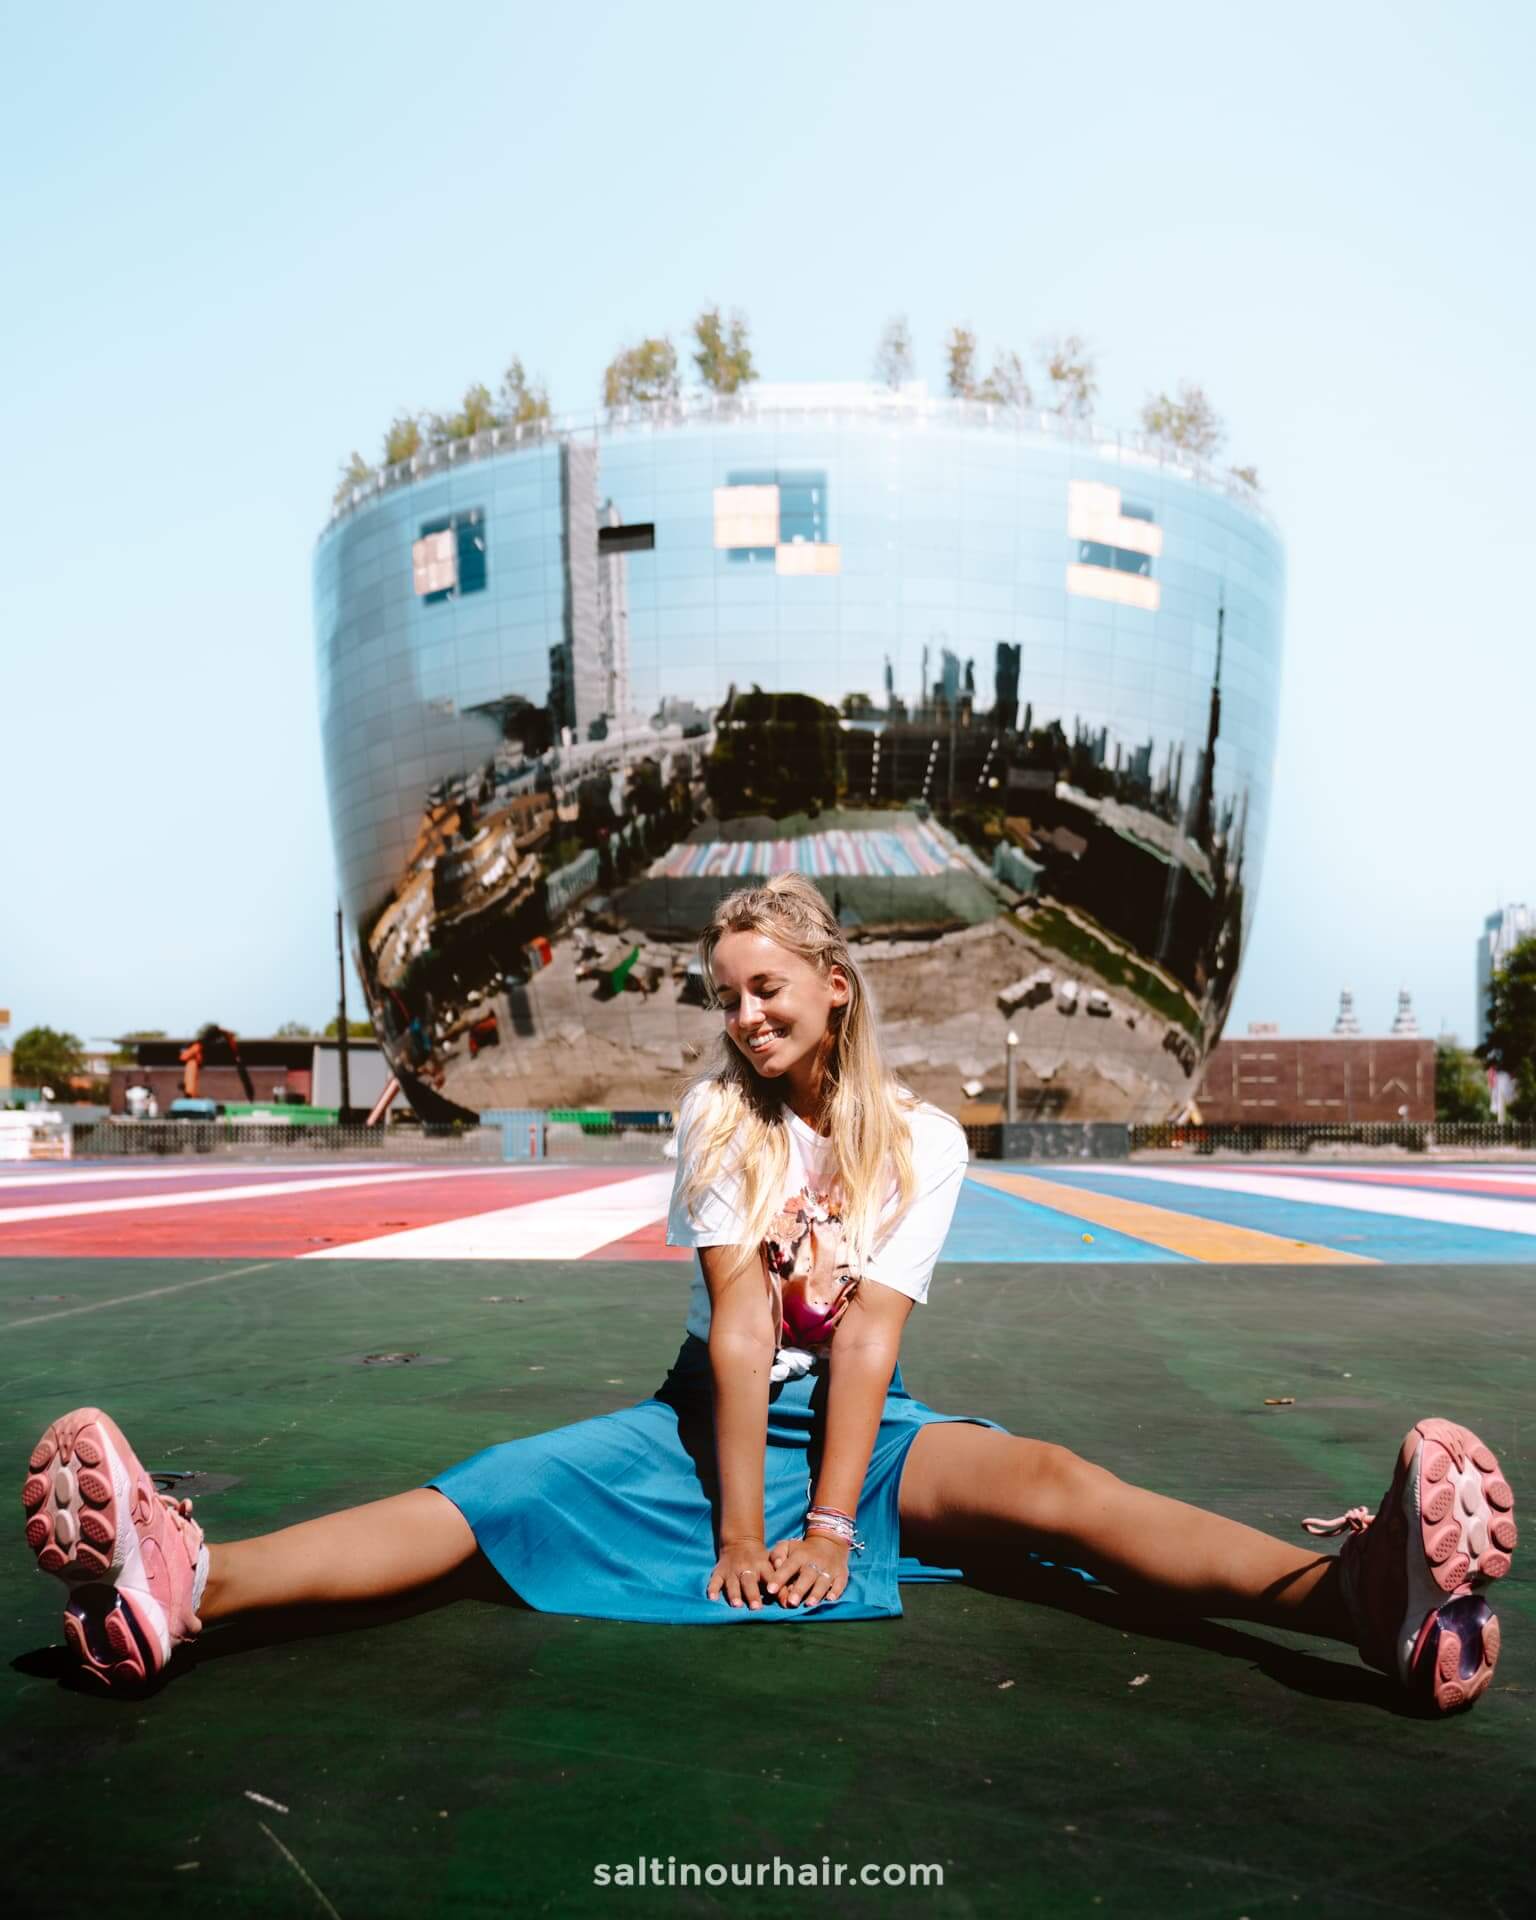
13. Shoot Vertical
Although horizontal might seem like a good idea to capture as much of the landscape as possible, this means you’ll need much more space without people in it. If you have a small window of time, photographing vertical is useful to avoid people and cars, etc. Additionally, it’s worth noting that the largest size photo you can post on Instagram is 4 x 5 ratio which works best with a vertical photo.
14. Use an ND Filter
ND filters stop light from reaching the sensor, making them the perfect camera accessory for bright sunny days. If you’re shooting outside in bright light, such as the midday sun, screw this filter on. It will instantly reduce the amount of light that comes into the lens and bring back the color that otherwise would be washed out. Use a variable ND filter that you can adjust depending on the light situation. We use a Hoya Variable Density Filter.
By purchasing through our links, you support us at no additional cost.
Thank you for your support. ♥️
- Find Hotels via Booking.com
- Find a Rental Car via Sunny Cars
- Find Cheap Flights via Skyscanner
- Get a Travel Insurance via Heymondo
- Book Tours & Attractions via Viator
- Book a Bus/Train/Transfer via 12Go


Looking for more travel information? Plan a chat with us for personalised travel advice or get an answer from the Salt in our Hair Travel Community on Facebook.
Loved this, very informative post.